Monday, December 14, 2015

Christmas Cookies!!

Hello mah people!
hehe

So usually I post a ‘how-to’ post, but today’s post is more of an “I was messing around with my siblings and I took pictures” post. So that is what we have here.

Josh and Audrey and I decided to make some Christmas cookies!

Here we are getting the dough ready. Isn’t Josh a cutie?!

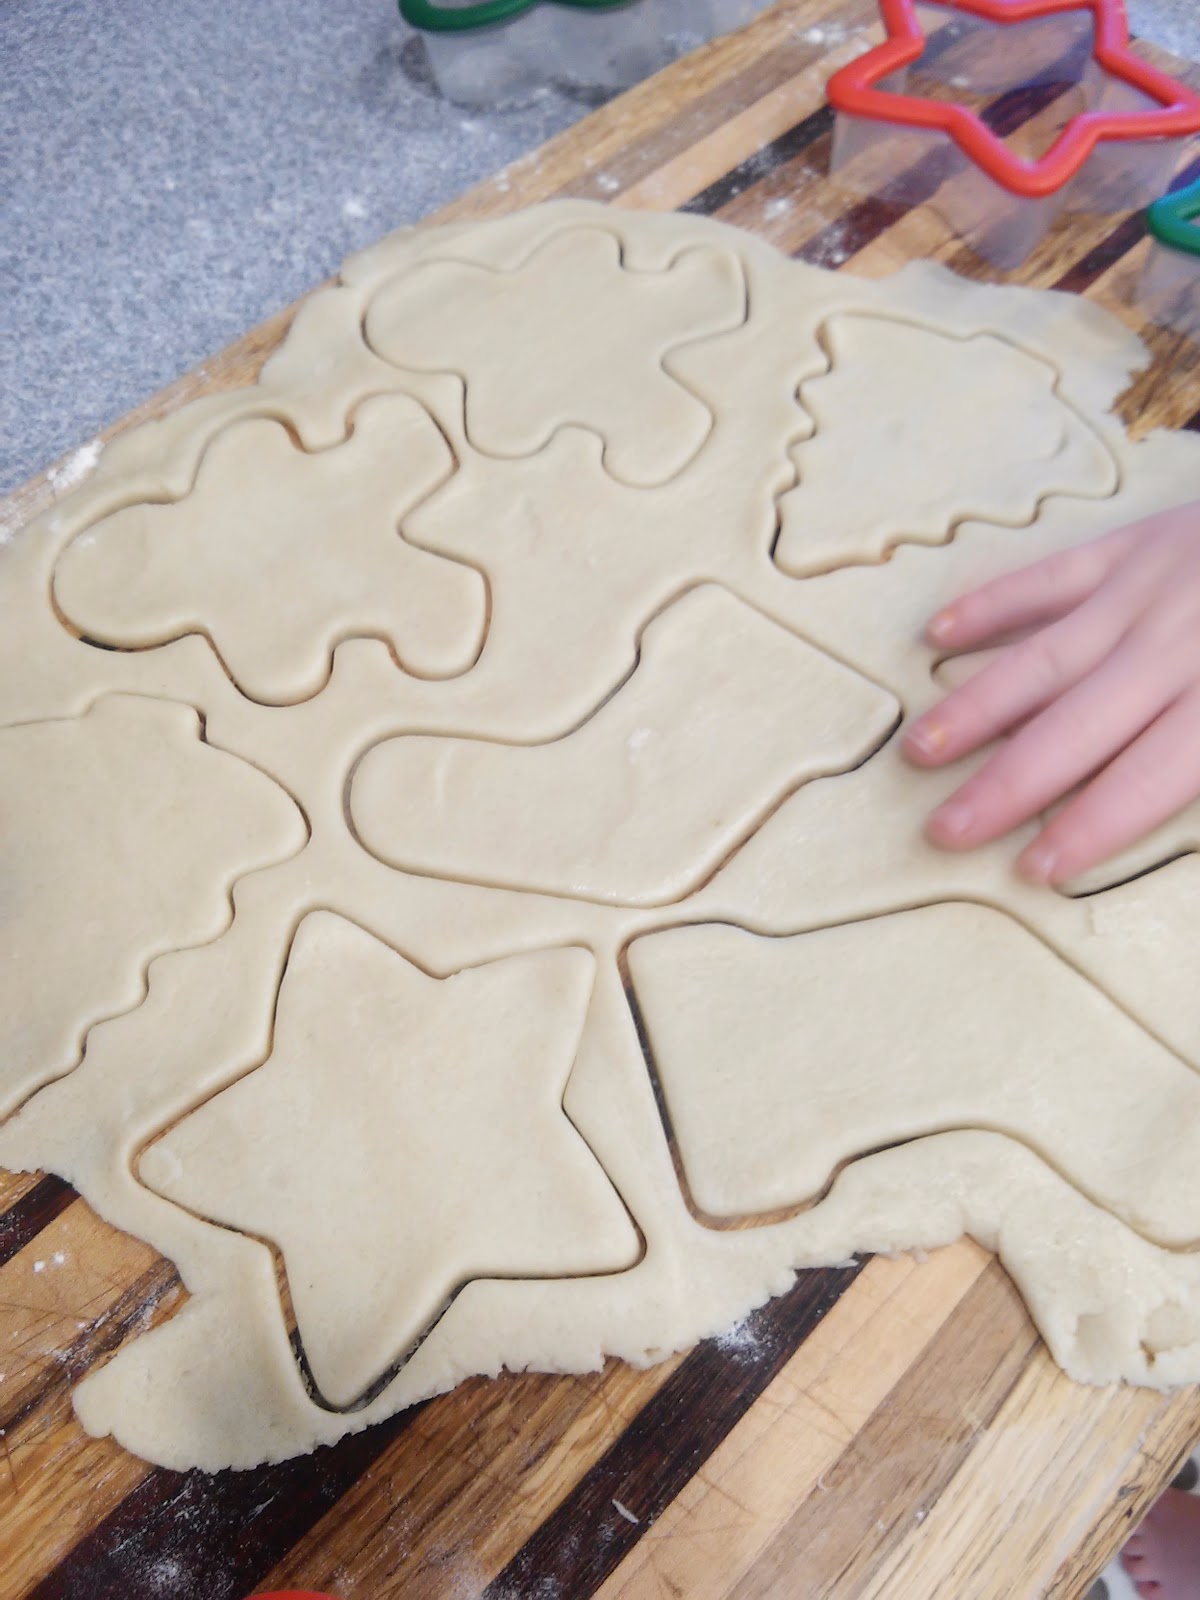
Cutting out the cookies.

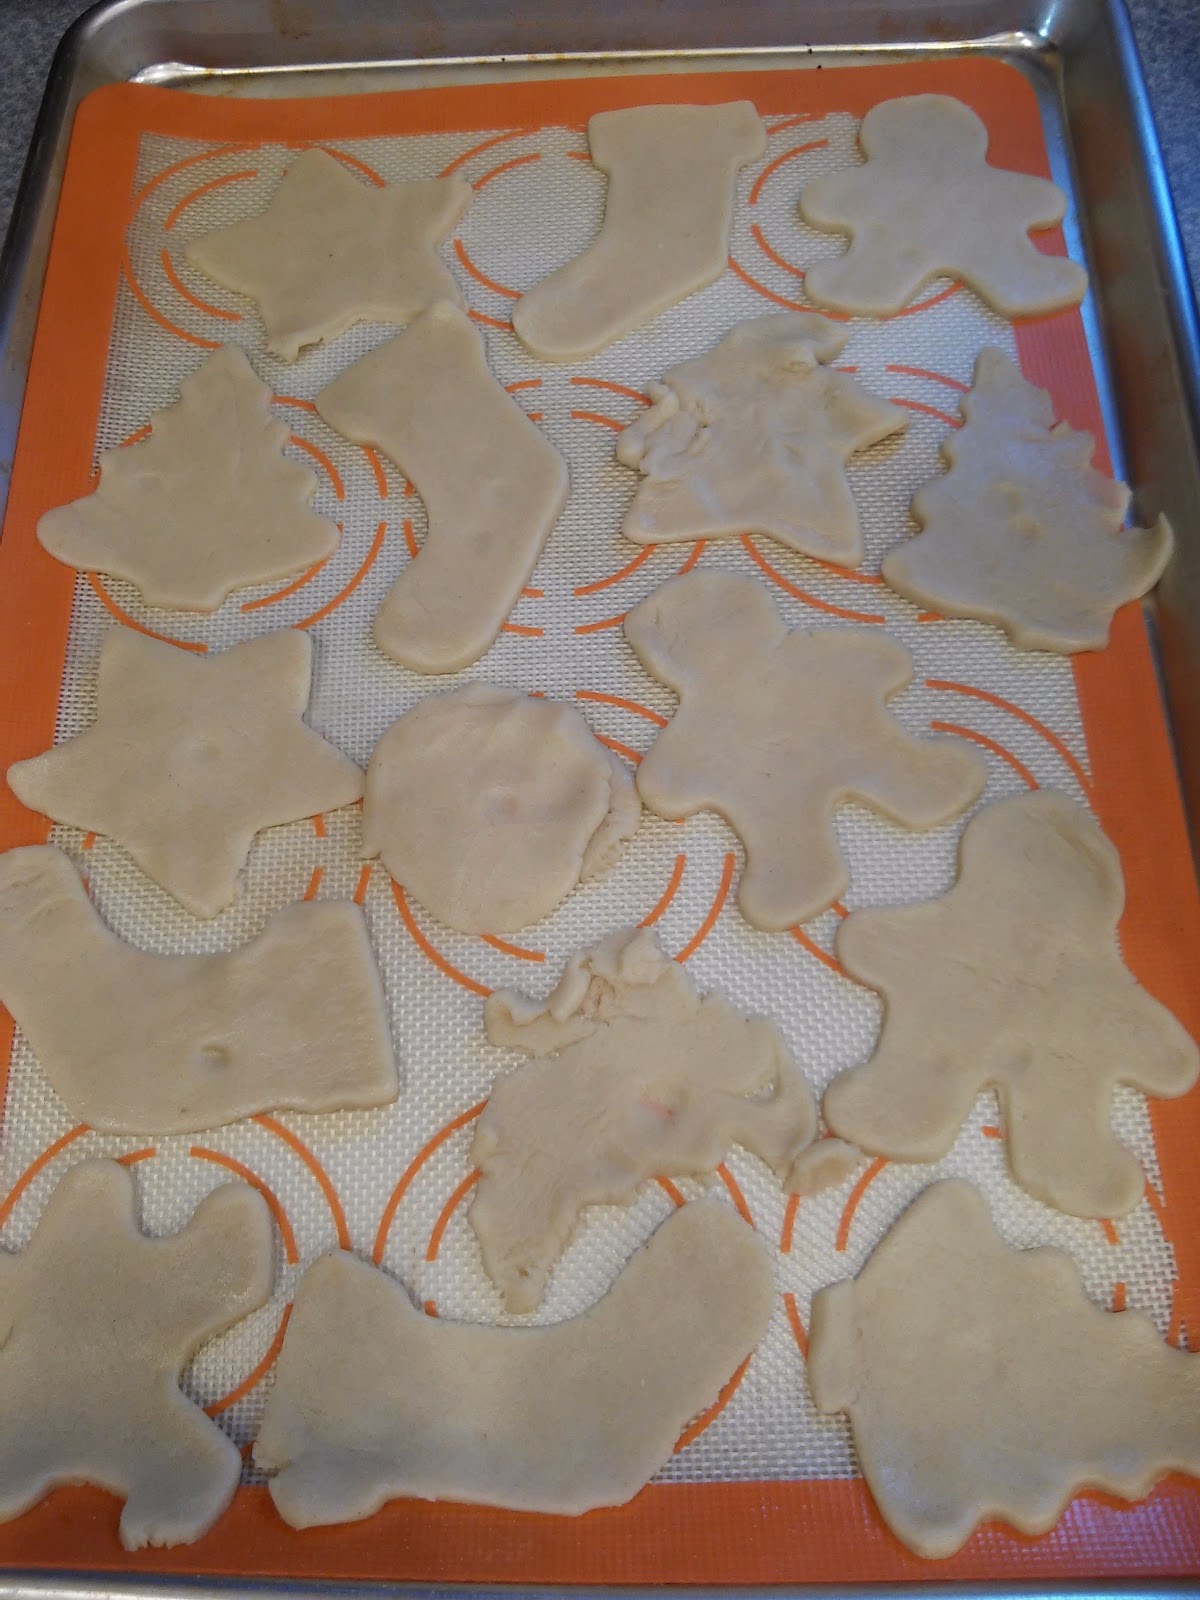
Cookies!!

More cookies! sorry for the dark picture

We gave Joshua a ziplock baggie to ice his cookies.

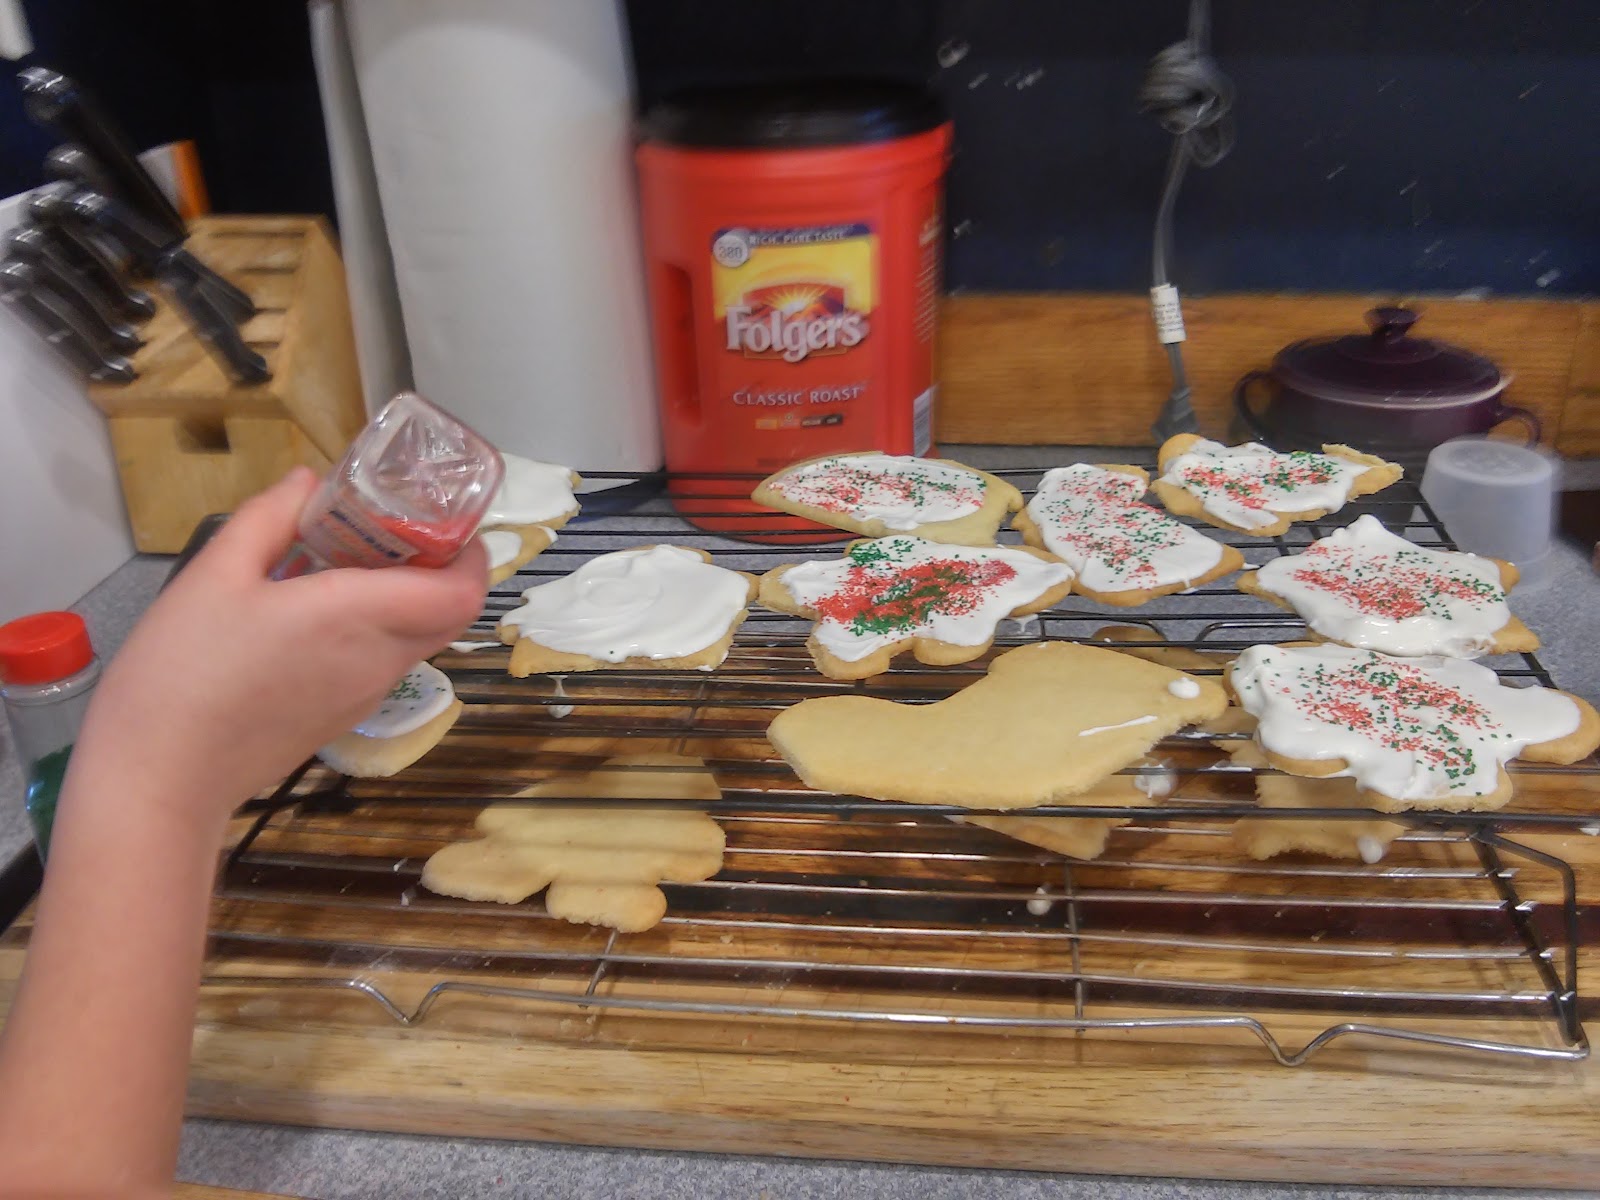
I frosted the cookies and Audrey added the sprinkles.
All done!!

Anyway I hope you enjoyed this post, even though it isn’t usually what I post. Be sure to come back Thursday for another post!

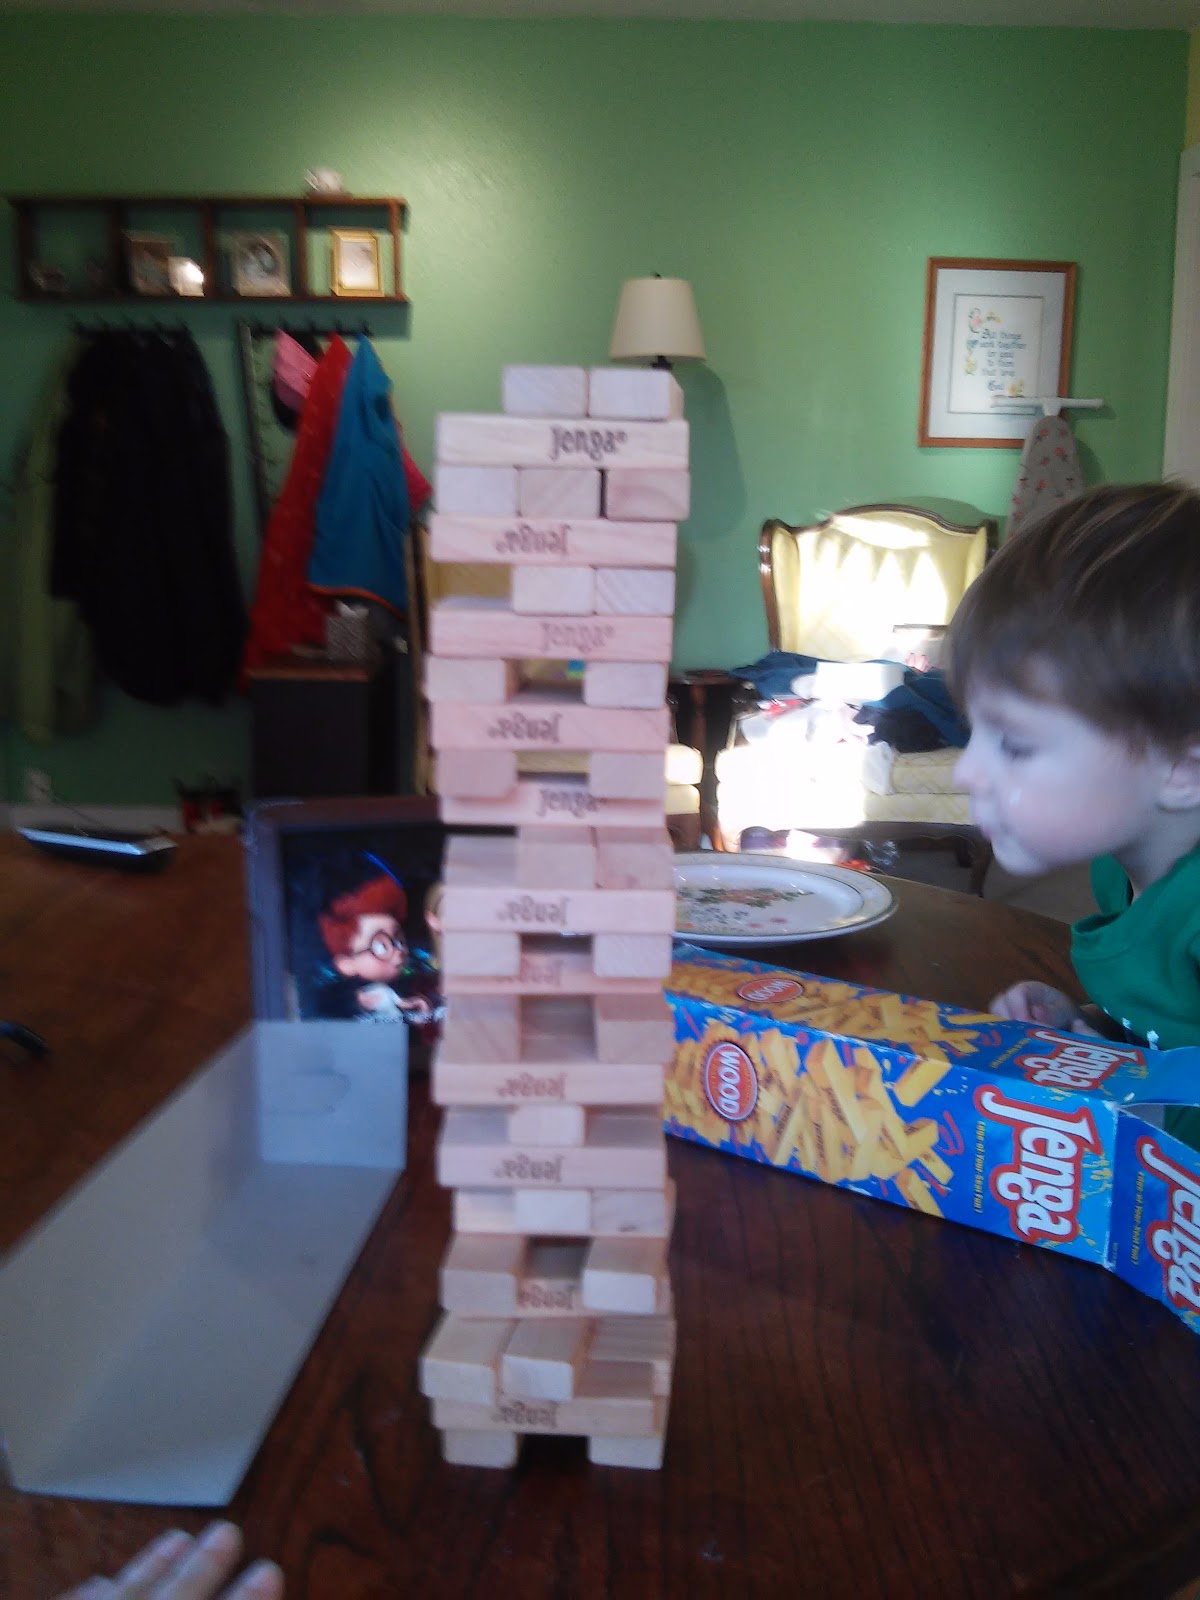
Bonus Photo!!

Audrey and I love playing Jenga!!

Thursday, December 10, 2015

Rolled Paper Tree Ornament!!

Hey Guys!!
So a few months ago I subscribed to Gold Magazine. It is a magazine targeted toward young christian women and I really enjoy it. I recommend checking out here: www.goldmagazine.co. Anyway here is my good news: I sent in a few articles and they accepted one! Yay! I am currently impatiently waiting for the magazine to arrive. In the meantime I will post something for you to enjoy. :)

Rolled Paper Christmas Tree
Source: Her Tool Belt

You Will Need:
Yarn
Scrapbook paper
A bamboo skewer
Scissors
A pencil
Popsicle Sticks
A glue stick
Hot Glue Gun (not shown)

Measure out how long you want the first layer to be on the back of your scrapbook paper. Cut the paper to size.

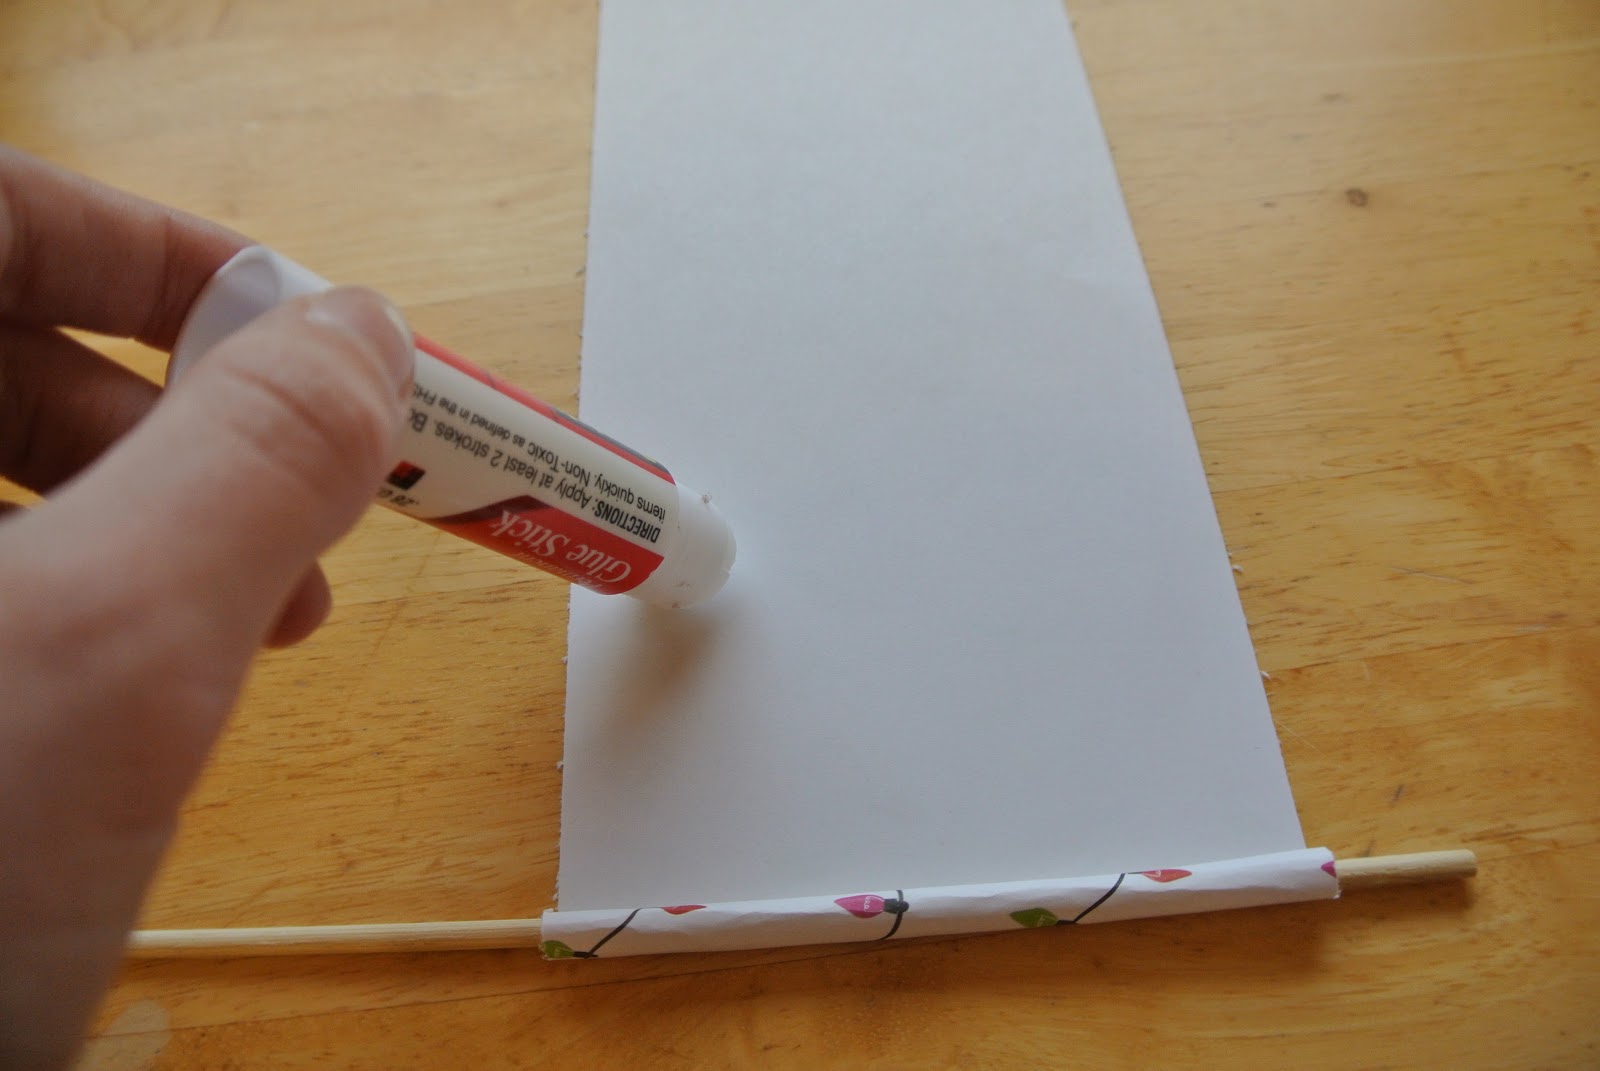
Start rolling the paper around the bamboo skewer. When the skewer is covered with paper put some glue on the paper you have yet to roll. When you finish rolling your paper remove the skewer. Repeat to make more paper rolls.

Use the hot glue gun and secure the first paper roll onto the popsicle stick.

For each layer trim the edges so it is a little smaller than the previous layer.

When you finish gluing all the paper rolls onto the popsicle stick cut a small piece of yarn and secure it to the back of the tree with more hot glue. Cut out a small star from paper and glue it on top of the tree.


Enjoy your new ornament!

Tuesday, December 8, 2015

Nummy Snacks!

Hello!!
I am very sorry that I missed yesterday's post. We were busy making tons of baby blankets. If you would like me to do a post on that, let me know. I will be making more!


So today I was hungry.
Not quite the news flash you were expecting I bet.
This time I got something good out of it.
Besides food, I mean.
I got a blog post!
Yayy!!
So now I present to you:
NUMMY SNACKS!!!!

Vegetable Burst:
(no, it’s not fancy. I just tried to make it sound like something you would want to make.)


You will need:
Mini Carrots
Olives
Ranch


Get a plate and bowl.
I got my trusty Peter Rabbit plate.
The bowl is just a plain bowl, sorry.


Now pour some ranch into the bowl, arrange the carrots around the bowl, place the olives in seemingly-random places and you are done!
Now you get to eat it! You could even put an olive on a carrot and then dip the top on the olive is the ranch and you get everything in one bit! Amazing-ness!


Cheesy Tortilla
You will need:
Corn tortillas
Shredded cheese


Get a plate and two tortillas.
Put the cheese on one tortilla (try to get it as close to the edges as possible) and then sandwich them.
(Yes, that is the peter rabbit plate again.)


Now microwave for 20-30 seconds.
My cheese was frozen so it took a little longer than that, but it was still delicious!


I know I know, it doesn’t look fancy or good, but my little brother really loved it so it must be good!
How could that adorable little face be wrong?
:D

I hope you make these snacks and maybe you will even like them! Enjoy!

Thursday, December 3, 2015

Felt Ice Skates!!

Hello!!
I like making ornaments. I'm sure you do too.
Buying them is also a fun thing to do.
Anyway, I found these on Pinterest and thought I would give them a try. They came out really cute so I thought you would like to make some!

You Will Need:
Yarn
Felt
Scissors
A pen or pencil
A Hot Glue Gun
A tapestry needle
A safety pin


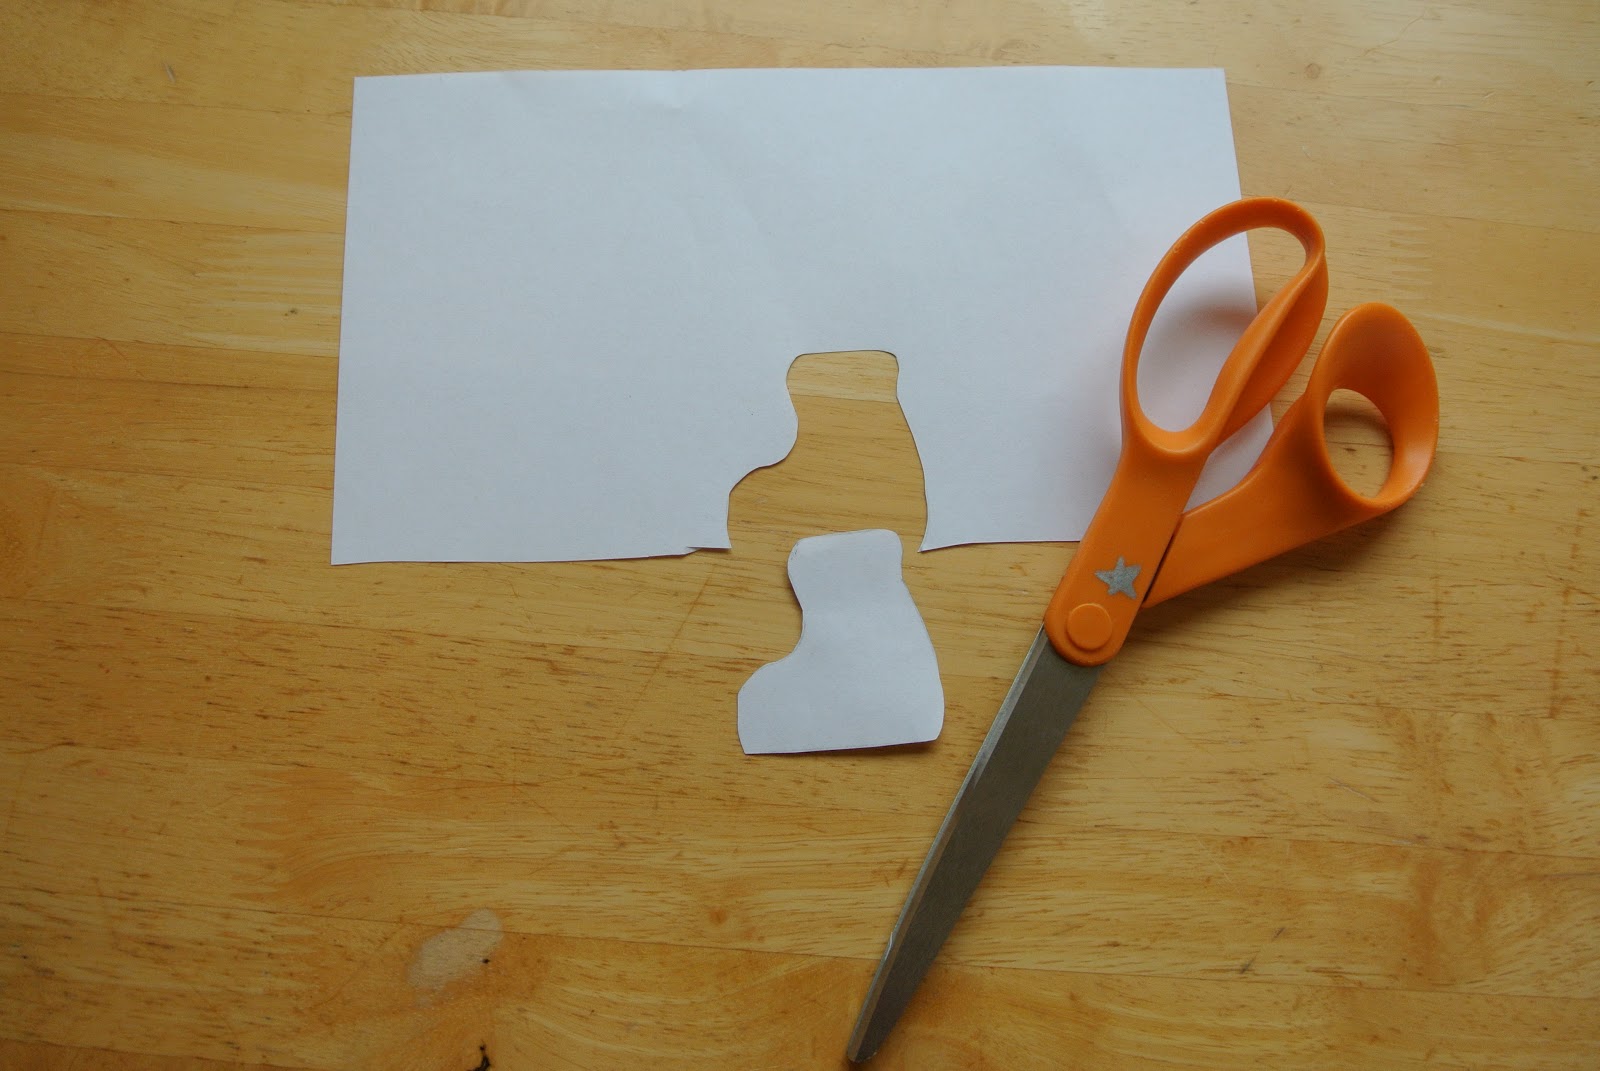
Draw the shape of an ice skate onto paper. Make sure the bottom of the skate is the same length as the wire on your safety pin.


Fold your felt in half. Lay the skate template on the felt with the bottom of the skate on the fold.


Trace around the template. Cut out the skate shape.


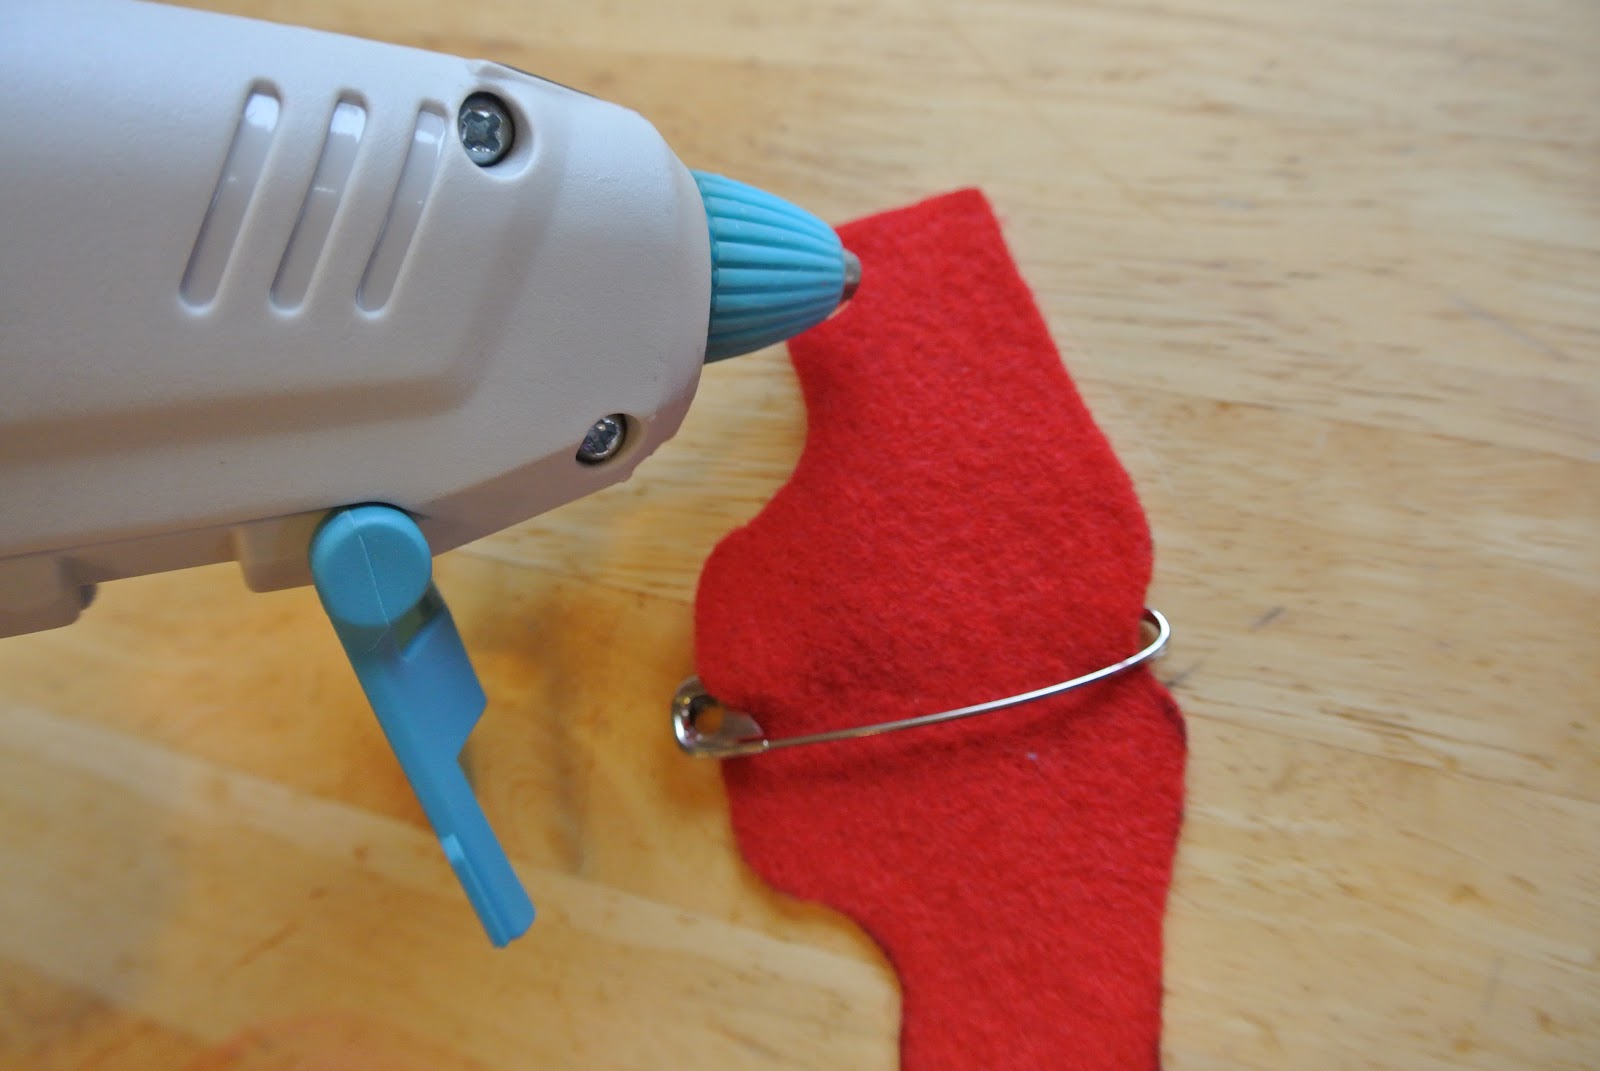
Unfold the skate and put it inside the safety pin. Hot glue the top and back.


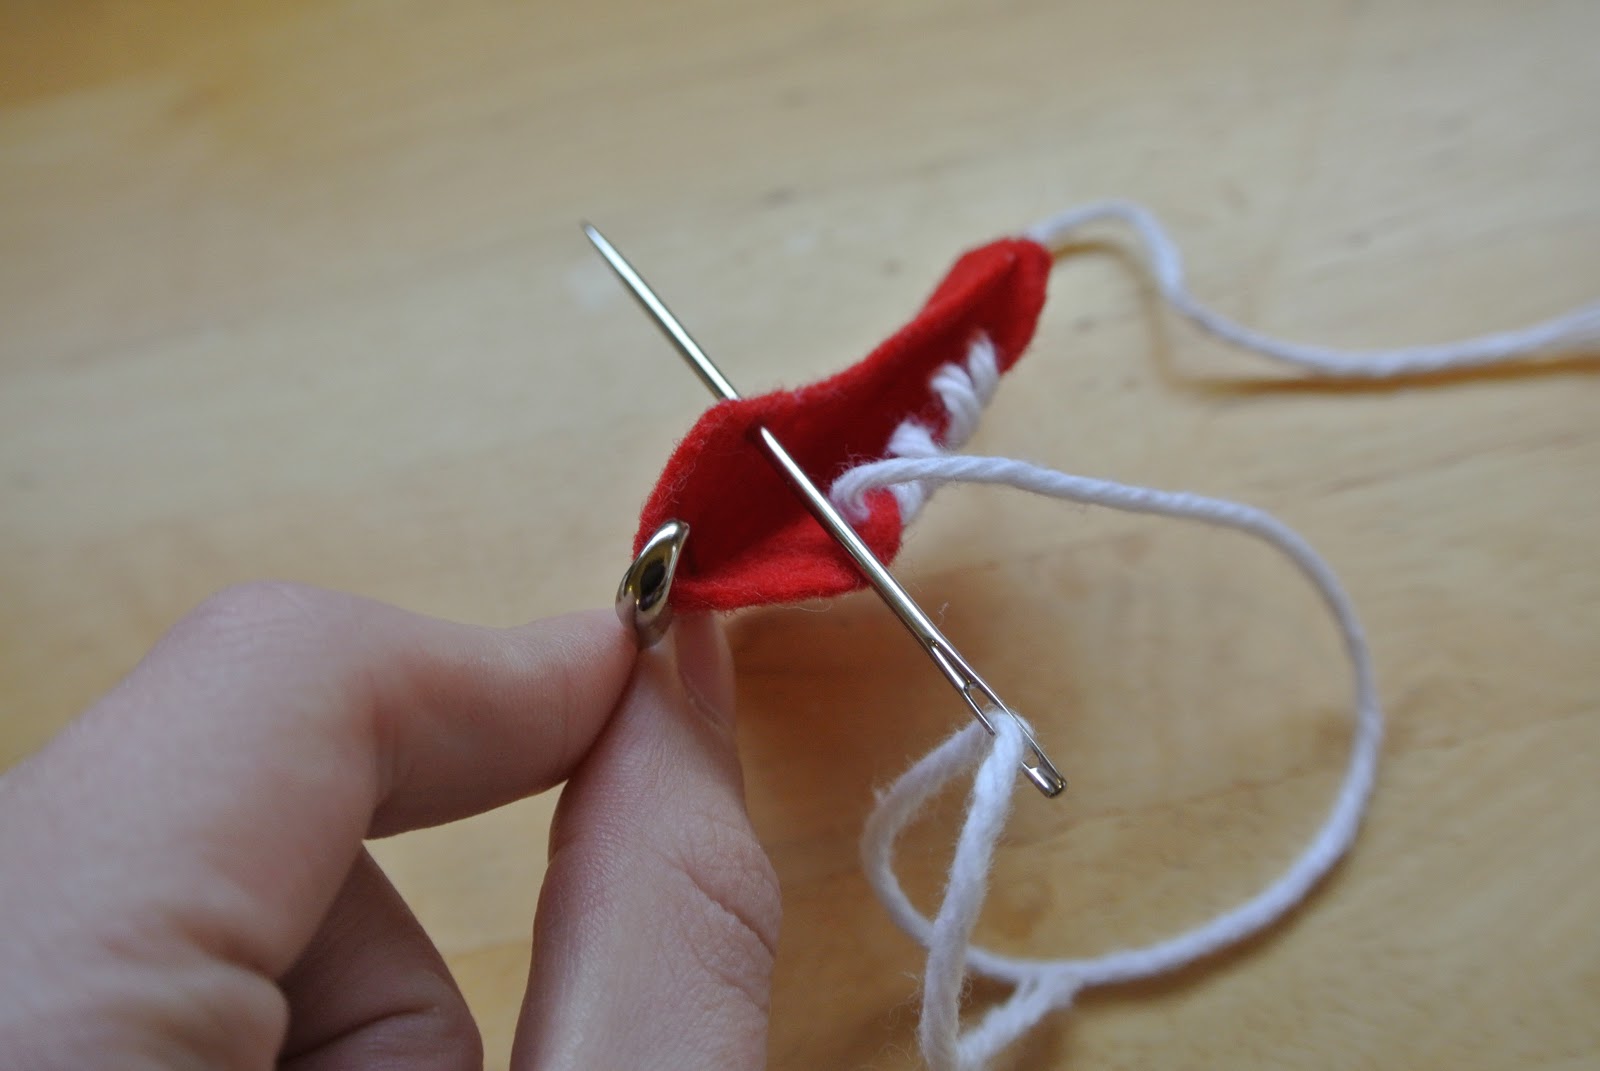
Draw dots on the skate where you want the laces to come out. Take your needle and push it through each of the dots to make the holes for the laces.


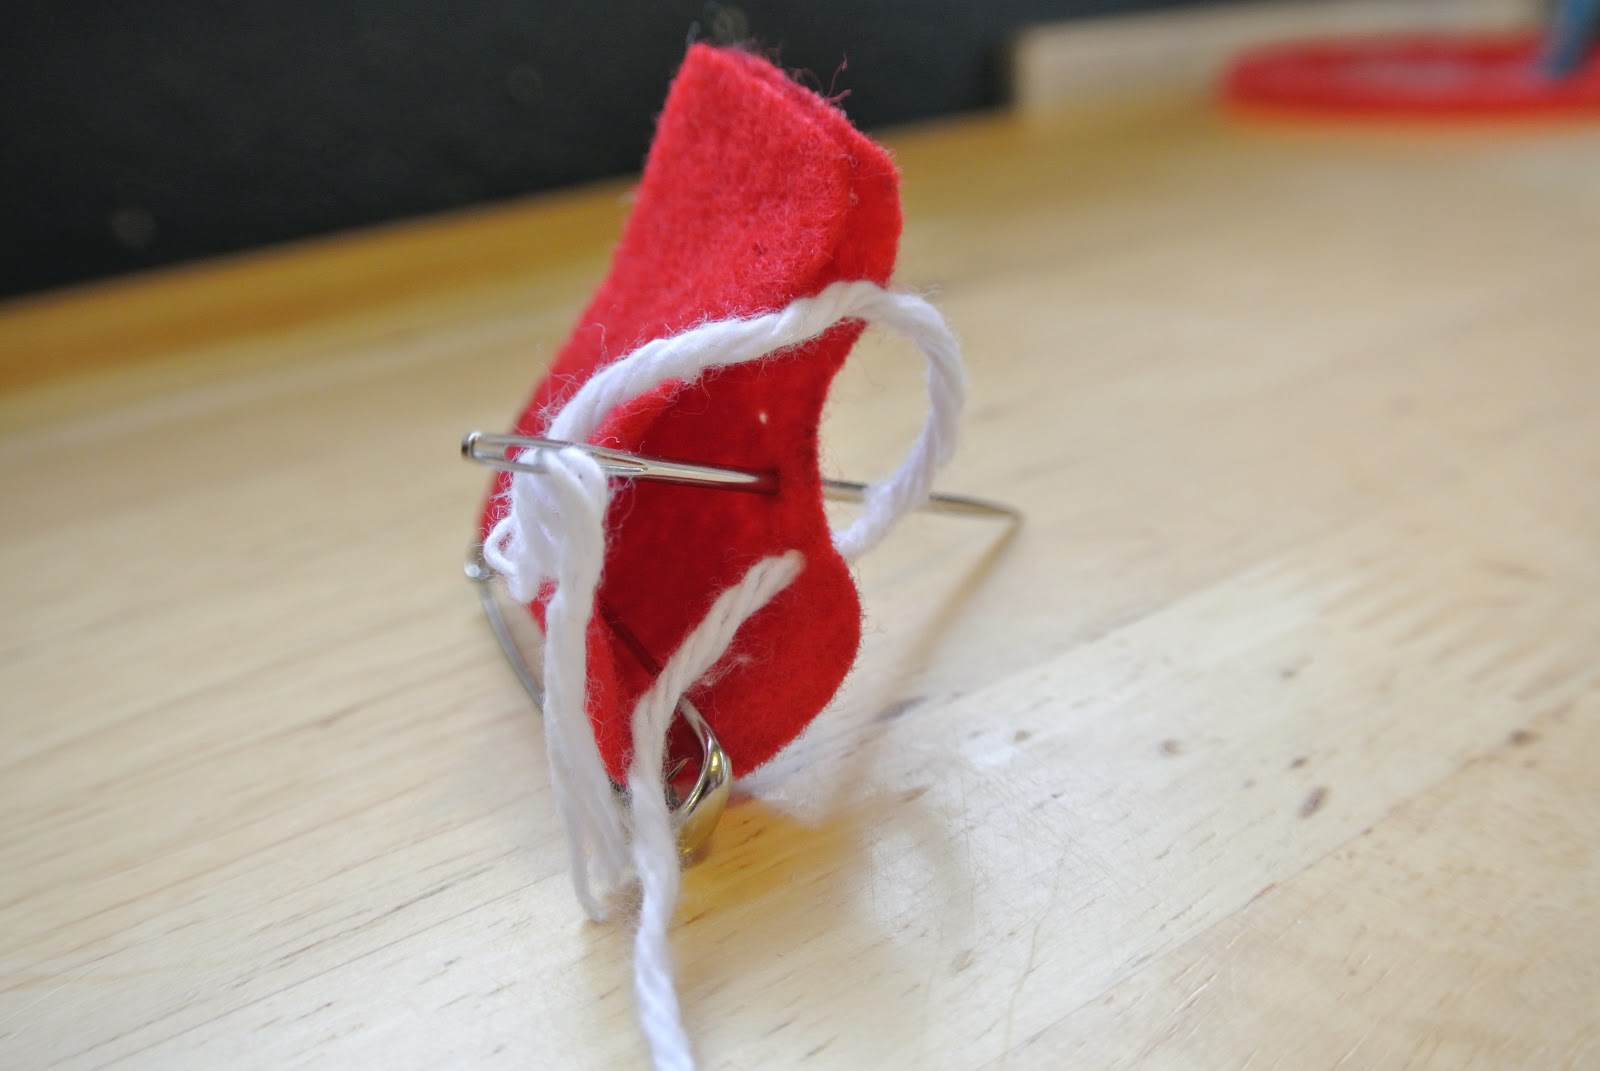
Cut some yarn for the laces and thread your needle with it. Remember to leave half the yarn as a tail. Push the needle through the lowest hole from the inside. Loop it back around and go out the next hole from the inside. Repeat going all the way up the skate.


Now remove the needle from the yarn at the top and re-thread it with the yarn at the bottom. Push the needle through the lowest hole from the inside. Lace the skate the same as you did the other side.


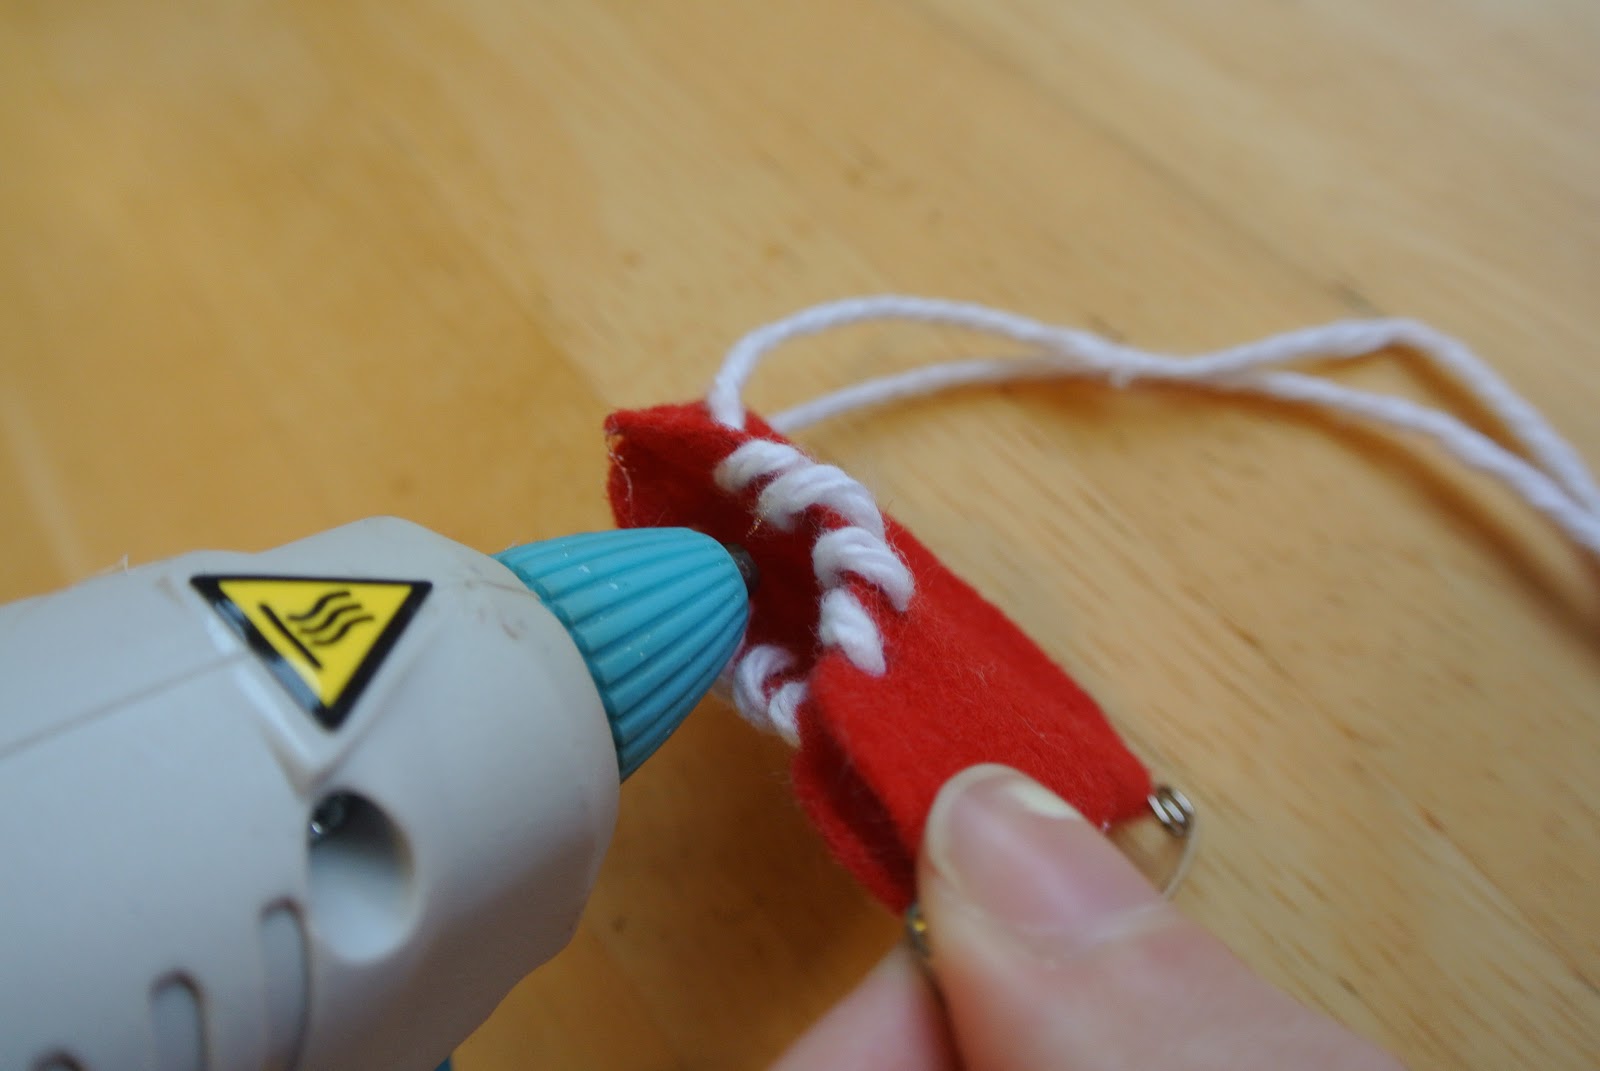
Put a tiny dot of glue right behind the laces.


Repeat from the beginning to make another skate.


And you are done! Enjoy!