Hi guys!
So our family doesn’t eat wheat. Now guess what the main ingredient in bread is? Wheat flour. So we cannot eat bread.
Until now.
We finally found a recipe for healthy bread! Yay! Now we can have toast again!
Modified from: Low Carb-ology

You will need:
¾ cup egg white (we use the stuff in a container)
3 Tbsp olive oil
3 Tbsp water
1 ½ Tbsp apple cider vinegar
6 Tbsp flax seed (we use golden milled flax seed)
6 Tbsp almond flour
1 ½ Tbsp coconut flour
3 tsp baking powder
½ tsp salt
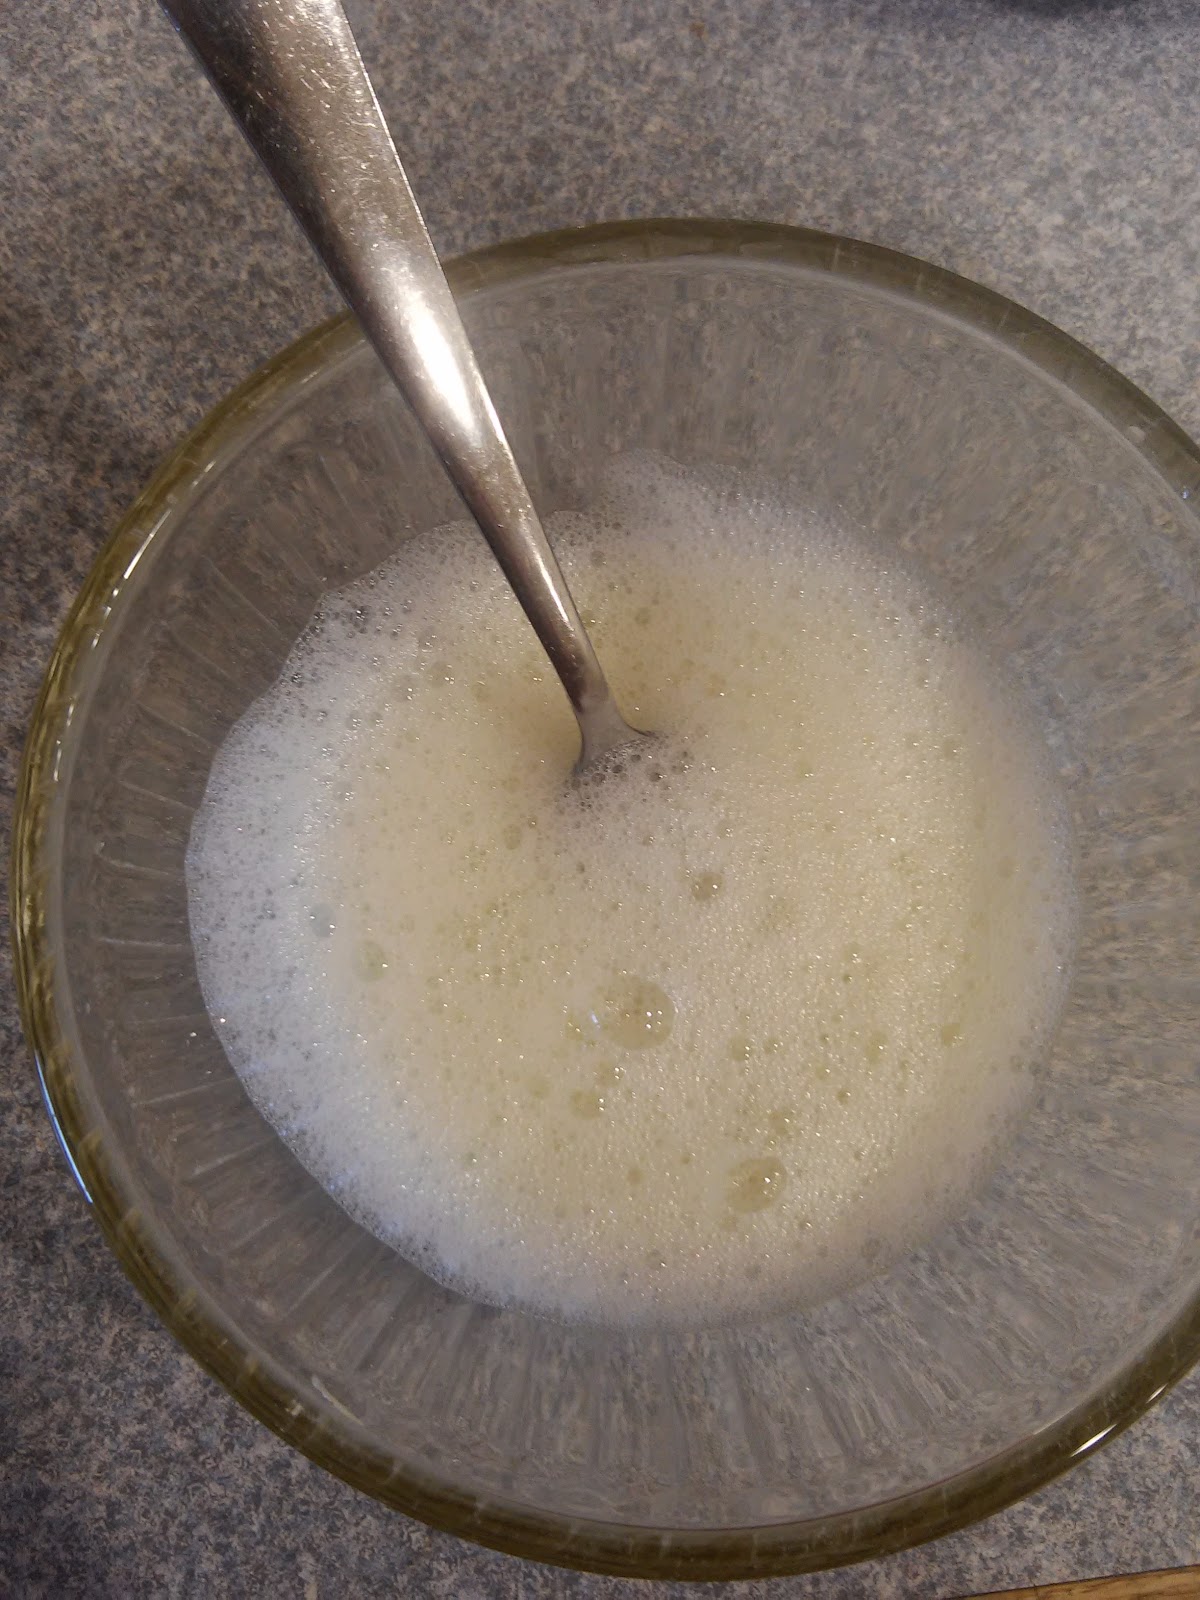
Beat the egg whites until they are nice and frothy.

Dump in the rest of the ingredients.

Now mix everything together. The consistency of the mixture is not always...consistent. Here my mixture was pretty thick, but I’ve also had it come pretty runny as well. If yours is runny then just add 20 seconds to the cooking time. Don’t add any more flour (or water if it is thick).

Now transfer the mixture to a greased pie pan. Or if you want little buns you could use ramekins. Just make sure they are greased!
Now microwave for 3 minutes.

As soon as it is done flip it out onto a cooling rack. Now it is done cooking here, but we like to stick it under the broiler on high for a few minutes to get it all nice and toasty. I do not have any photos of the toasty goodness though because I forgot it was in there and (as you can probably tell) it got burned. Oops! So if you toast yours be sure not to forget it! This stuff tastes really bad burned.
But that’s pretty much it! You can use this bread the same way you use normal bread: for french toast, tuna melts or a nice sandwich. :) See you next week!