Showing posts with label Pinterest. Show all posts

Tuesday, February 14, 2017

Fun things to do with friends!

Hey Guys!
It’s raining here, which makes me very happy because my workspace is on the top floor and I can hear the rain on the roof.
Yes.
Anyway, a friend and I have put together a list of things to do with your friend(s). Feel free to consult it if you are in need of entertainment.

Fun things to do with friends:
Go to an arcade.
Go to a theme park
Take all the photos
Dance and sing
Pool your resources and do something extra
Exercise...then laugh at your failures
Paint
Draw
Race
Play video games
Place bets on a coin toss
Play trivia...and place bets
Draw portraits of each other
Make food
Make sweets
Craft competition
Pinterest craft competition!
Window shop...then “accidentally” buy stuff
Lip sync battle
Style switch!
Read books
Watch a movie
Watch a super cheesy movie and laugh at it
Hang out at a library...or bookstore
Drive each other to a random place, then judge it on interest, beauty and how funny it is.
Do each other’s makeup.
Do imitations
Play charades  

If you do any of these things, please tell me in the comments below, or share a photo with me on Instagram @lilyingeneral42.

See you next week!

-Lily

Thursday, February 9, 2017

Valentine's Day DIY's!

Hey Guys!

I’m sure you’ve noticed that Valentine’s Day is coming up, and with it lots of fun decorations! I’ve put together a compilation of my favorite ideas so take a look:

Flowers with a twist:
Flowers are a Valentine’s staple, but they are even more fun when surrounded by M&M’s! Put the flowers and water in a small vase, then set it in a larger vase and pour in the M&M’s. You could do this with flameless candles as well.

3D Heart Ornaments:
I made these last year with my little sister and they turned out really well! Cut out 3 or 4 hearts the same size, then (optional) fold each one in half. Glue half of one heart to half of another heart, then repeat this until you have come full circle. Then punch a hole in the heart and pull the string through and knot it. And you’re finished!

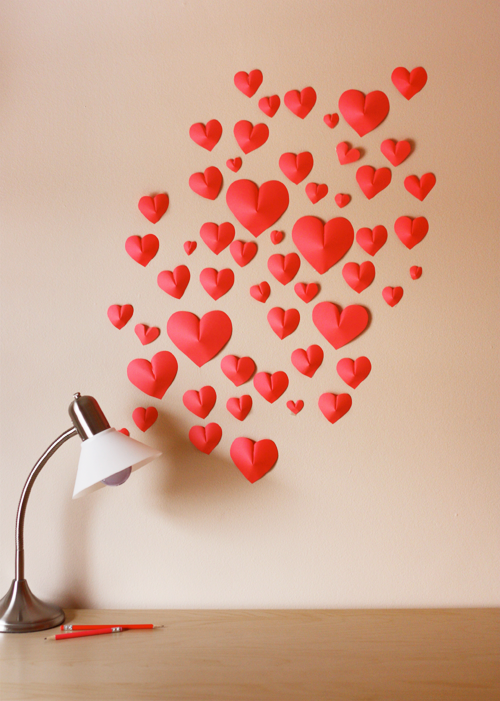
3D Wall Hearts:
This is another one I had fun with. It’s tricky at first, but once you get the hang of it you can make them really quick! Go to How About Orange for the full tutorial.

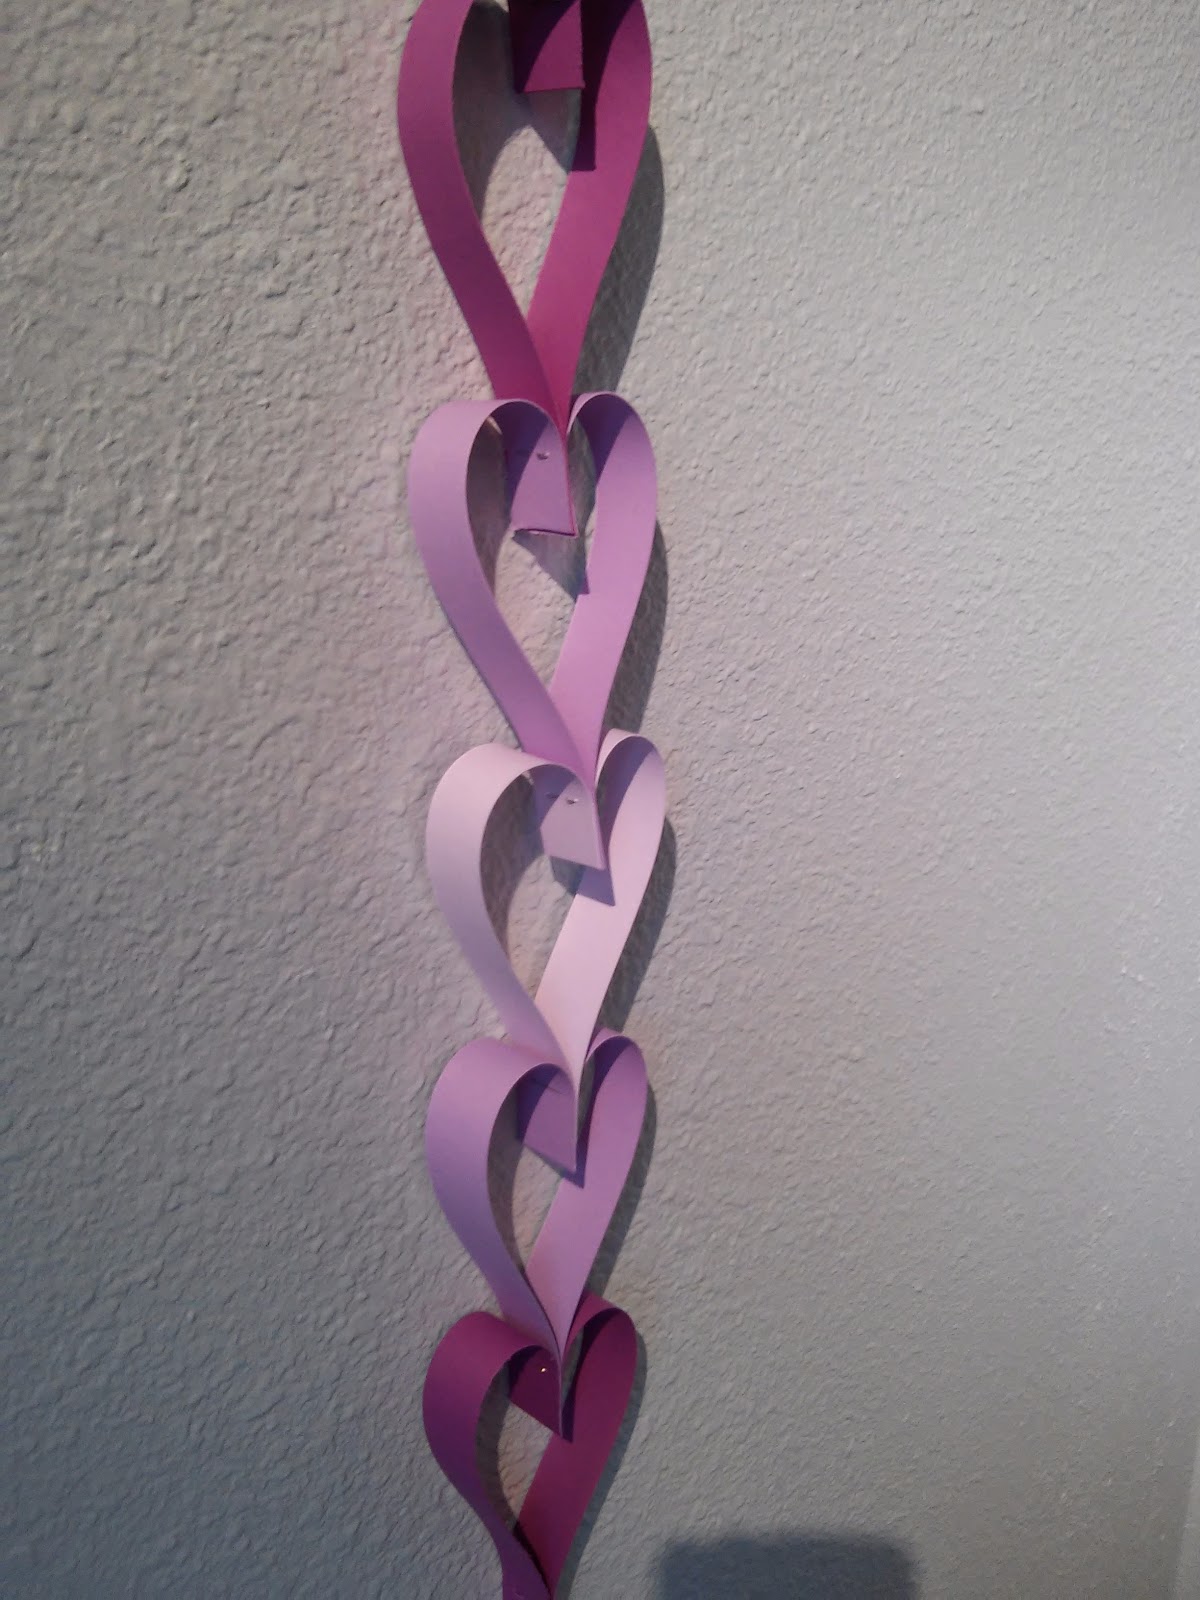
Heart Garland:
I make these every year in different color combination because I love it! Click the picture to see the full post.

Pom Pom Pillow:
This one is a bit more long-lasting, but super versatile. Put a piece of cardboard inside the pillowcase to protect it, then trace your design onto a pillowcase using chalk or a pencil. Finally hot glue pom poms on, following the lines. Easy peasy!

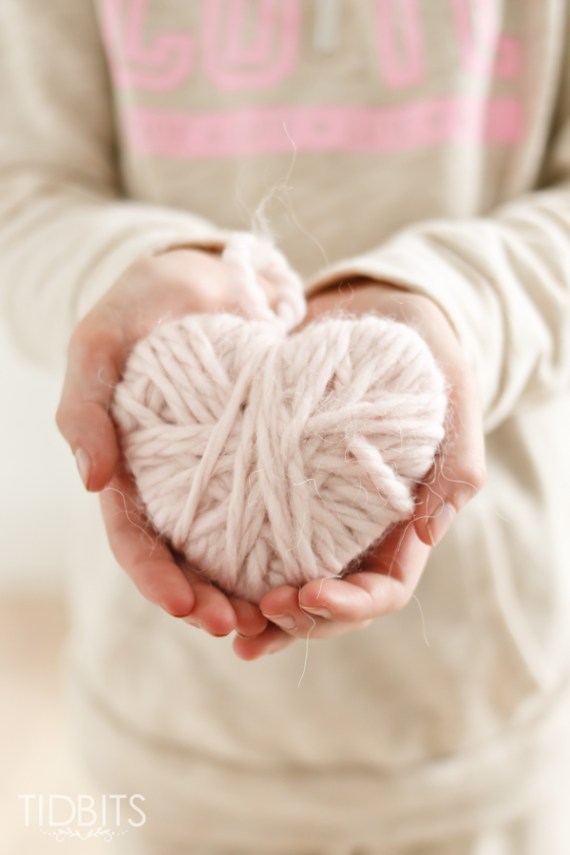
Yarn Hearts:
Now you know what to do with all your yarn! Cut some cardboard to look like a heart, then tape the yarn to it and start wrapping! Finish by knotting the yarn around a previous loop.

And that’s a wrap! I hope you enjoyed this post and found something you might like to make. ;) If you do make something be sure to tell me in the comments below!

See you next week!

-Lily

Tuesday, February 7, 2017

Glitter

Hey Guys!


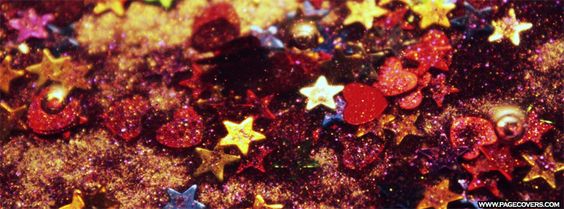
Normally this time of year is when I would do a Valentine’s Day themed post, but Pinterest went down in the middle of it. So instead I am going to use Google Images to fulfill a follower’s request, “Do photos of glitter!” Now let us all enjoy the sparkle of glitter without the endless hassle of trying to clean it up.


And there you have it! This is something different from what I usually do but it was really fun to make! Remember, if you have something you would like me to try tell me in the comments below.


See you later!
-Lily

P.s. Valentine’s post on Thursday!

Wednesday, December 14, 2016

10 Gifts People will actually like

Hey Guys!

Don’t you love the feeling of having all your work done for the moment? The dishes are done, the laundry machines are running, and you have finished all schoolwork you need to (depending on your age). I am currently in that moment of freedom (!) and so I decided to write up a blog post for you!
Since it is almost Christmas I bet you people are expecting a Christmas-themed post. Don’t worry, I will deliver! Here are 10 gift ideas people will actually like!

  1. A Plush Blanket
These things are everywhere, and who doesn’t love ‘em!? They are so soft and cuddly, and they are perfect to take to a sleepover or on vacation. You can find almost any design or print to make it the best gift for young and old, boys and girls.

2. 52…
These jars are getting more and more popular, and the reason for that is that they are so much fun! You don’t have to do a “year in a jar” like The Gunny Sack did, you can also do “52 reason why I love you” or “52 thoughts from me to you”. The options are completely customizable, and the receiver will love the thought you put into it. Have fun with it!
P.S. you can also do this with a deck of cards. :)
3. Shower Speaker
There are a lot of awesome bluetooth gadgets out there right now, but I think one of the best is a waterproof shower speaker. This will make an amazing gift for someone who doesn’t ever seem to be without their headphones. Plus they come in a ton of different varieties so, like the other thing seen before this, you can choose the perfect one for your person.

4. Bullet Journal
In a time where it seems nothing is without electricity, bullet journals are acquiring more and more charm for those who like details and planners. These books are great for people who doodle and people who plan alike, so, combined with the receiver's fave color, this can hit a lot of different targets.
P.s. I recommend getting the Triplus Fineliner Pens to go with this book.

5. Books
Is there a book series they love but don’t own? A book they’ve wanted to try forever but haven't been able to? There’s an opportunity there! Grab that book for them and you will be high on their list of people to thank. :)

6. Sports
Is there a sport they love? Has football won them over? Do they devote themselves to swimming, or maybe volleyball? Consider getting them a jersey in the team colors, or some jewelry to show their team spirit. A personal favorite of mine are sweatshirts.

7. Craft Kit
Do they love to craft? Does your person spend hours trying out this thing they saw on Pinterest, or are they dipping their toes in the endless ocean that is DIY? You should probably try making them a craft kit then! Mama Pappa Bubba had the fun idea of making it in a tackle box, which would make it wonderfully portable. Dreaming DIY has a ton of other ideas for kits of all shapes and sizes (not just for crafting!) so that would be a good place to look for inspiration as well.

8. Birchbox
This one is on the spendy side of things, but it is so worth it. Birchbox is a subscription service where they send you a box every month with 5 high-end beauty products (at least 4 of them are sample size). I have had a lot of fun with boxes I have received so far, and it is an incredible value since you only pay $10 for a box of $15+ items. If Birchbox doesn’t sound too great, you could also check out Ipsy, FabFitFun or Glossybox.

9. Gift Cards
Despite the fact that gift cards might scream “I forgot about you” in your opinion, some people actually prefer them to material presents. Grab a couple gift cards to their favorite stores, stick them in a jar of candy and you are set! Or hide them in a book they were eyeing. Or drop it in a brand new pair of slippers. The options are endless!

10. Kitchen Utensils
If they love cooking then this might be a fun treat! Especially if you make sure the colors match their kitchen. Another thing you could do with these (rather than just gift them as-is) is add them to a small kit of cooking supplies. Like a basket full of measuring spoons, measuring cups, spatulas and the like. :)

I hope you enjoyed this list of gifts! If you gift any of these be sure to tell me how they liked it. Don’t forget to follow me to receive an email every time I post so you don’t miss a thing!

See you next week!

~Lily

Wednesday, December 7, 2016

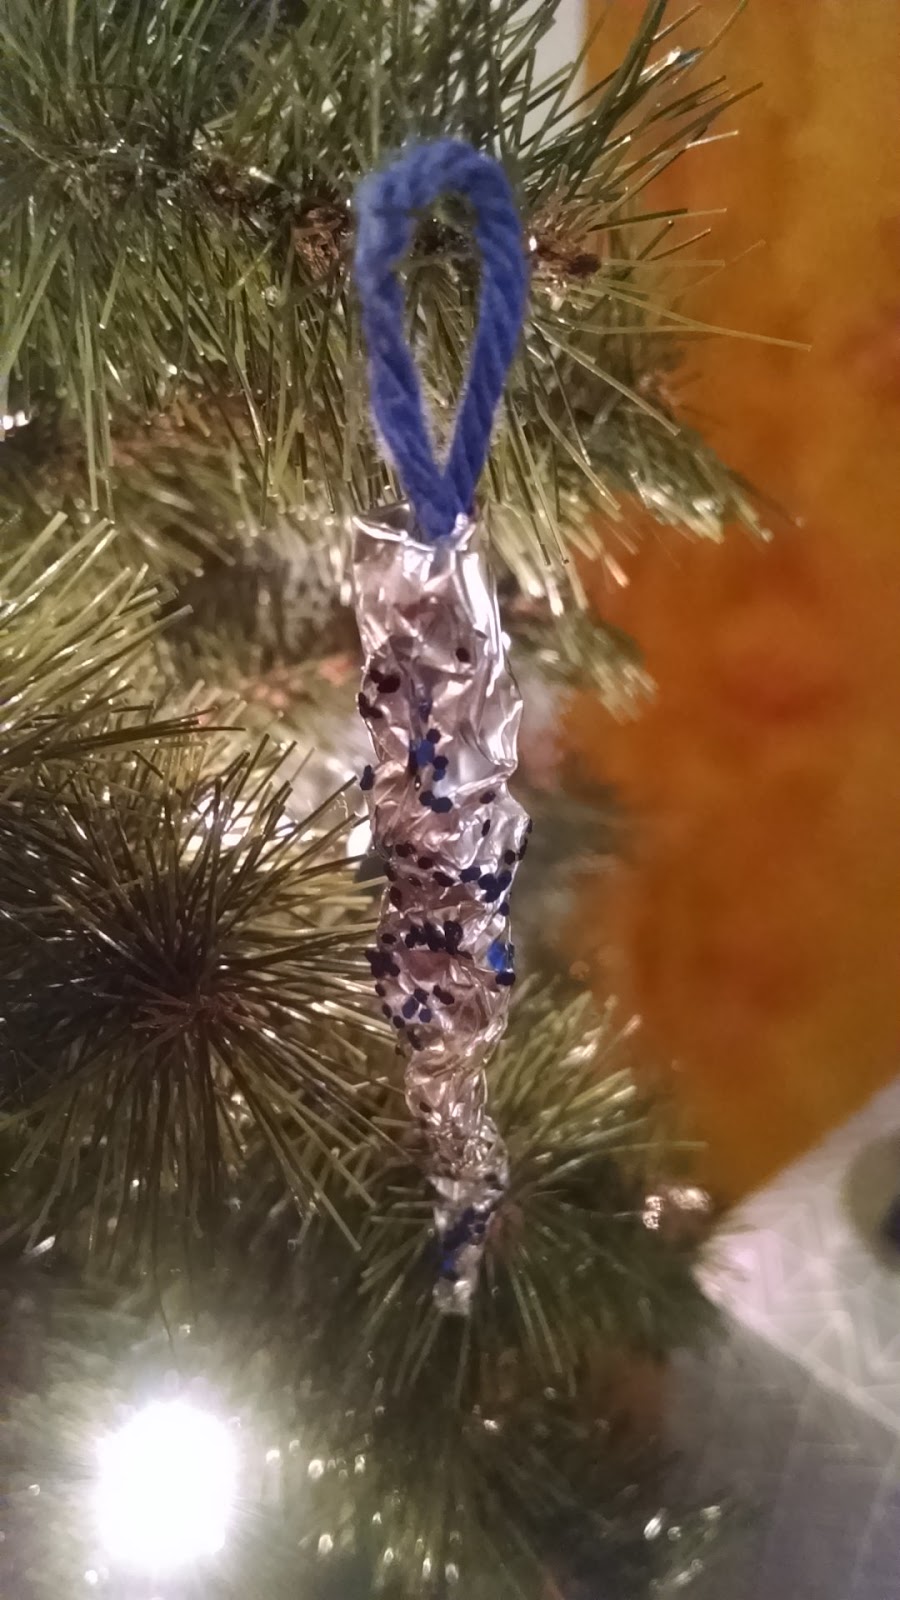
Glitter Icicles

Hey Guys!

So my little siblings love Christmas. Especially the decorations. They also love all the crafts I do for this blog. So I thought we’d make some Christmas ornaments. It turned out pretty nice!

I used this craft for inspiration: Sparkly Icicle Craft-Kid's Craft Room
First I cut out a strip of foil.

I folded the top inch or so down and added a loop of yarn, then I rolled it (loosely).
I gave the foil roll to a sibling at that point and told them to make it look like an icicle! :)

Once they had their desired shape, I gave them a paintbrush with Modpodge and a tiny bit of glitter.

They really enjoyed this part!

Then we hung them up to dry. And if you use Modpodge you do not need to worry about the glue showing since it dries clear.

And, once it is dry, you’re done!

My sister tried this out with some paper instead of the foil and it turned out pretty well! So feel free to improvise with your materials.

You can make these all different shapes and sizes. This icicle is about 2 ½ inches long. Perfect for smaller trees.

And that’s it! Thank you for stopping by today. Please tell me down below if you liked this post or if you have another thing for me to try and make with my siblings. Also subscribe to this blog (using the bar on the side) to receive an email the next time I post so you don’t miss anything.

See you next week!

-Lily

Monday, November 14, 2016

3D Snowflakes

Hey guys!

I apologize for not posting the past couple weeks, my family has been very busy. But now I’m back!

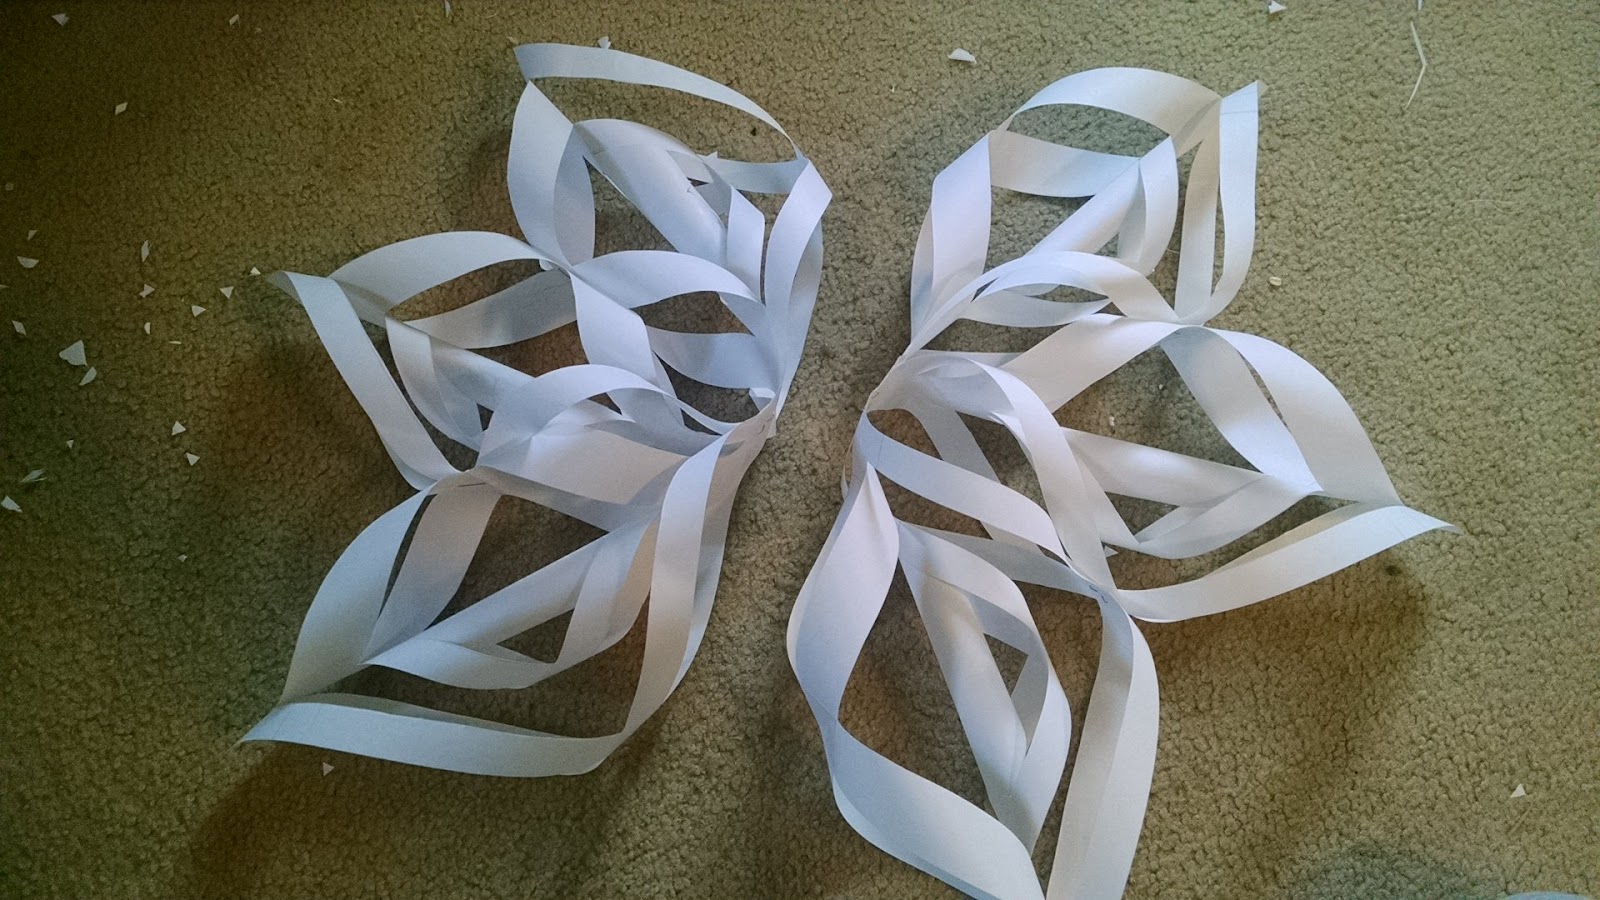
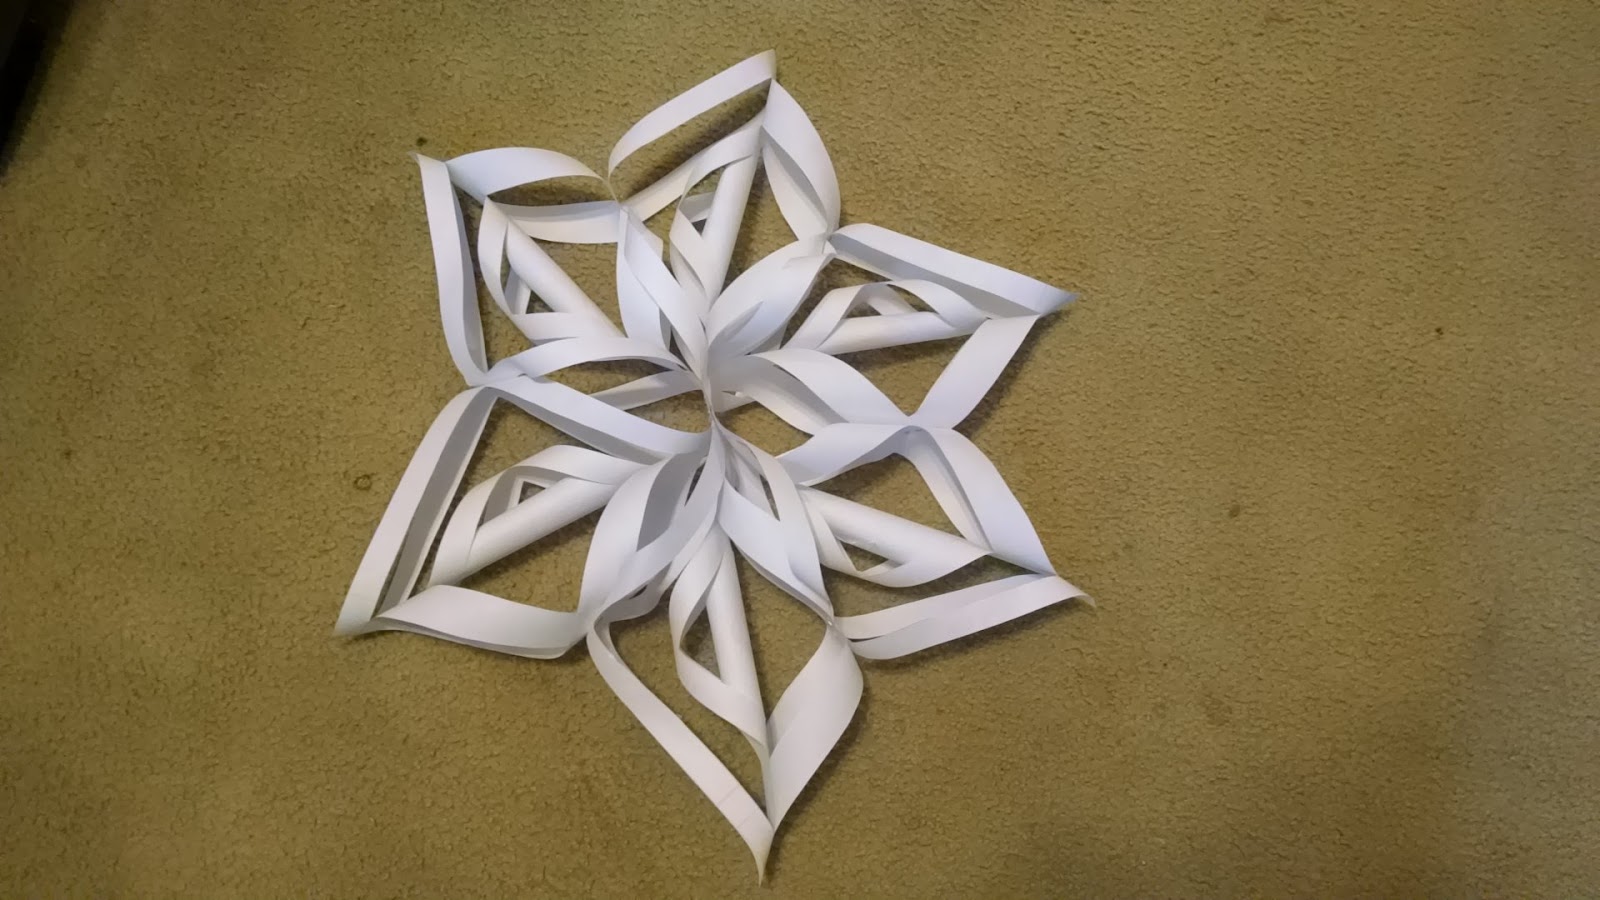
Today’s post is a little out of season as Thanksgiving hasn’t even passed yet. But I found some pictures on Pinterest and decided I wanted to make a blog post on it. So if you want to get a head start on decorating for Christmas this post is for you!

You will need:
Scissors
A pencil
Tape
A stapler
6 pieces of paper
A ruler


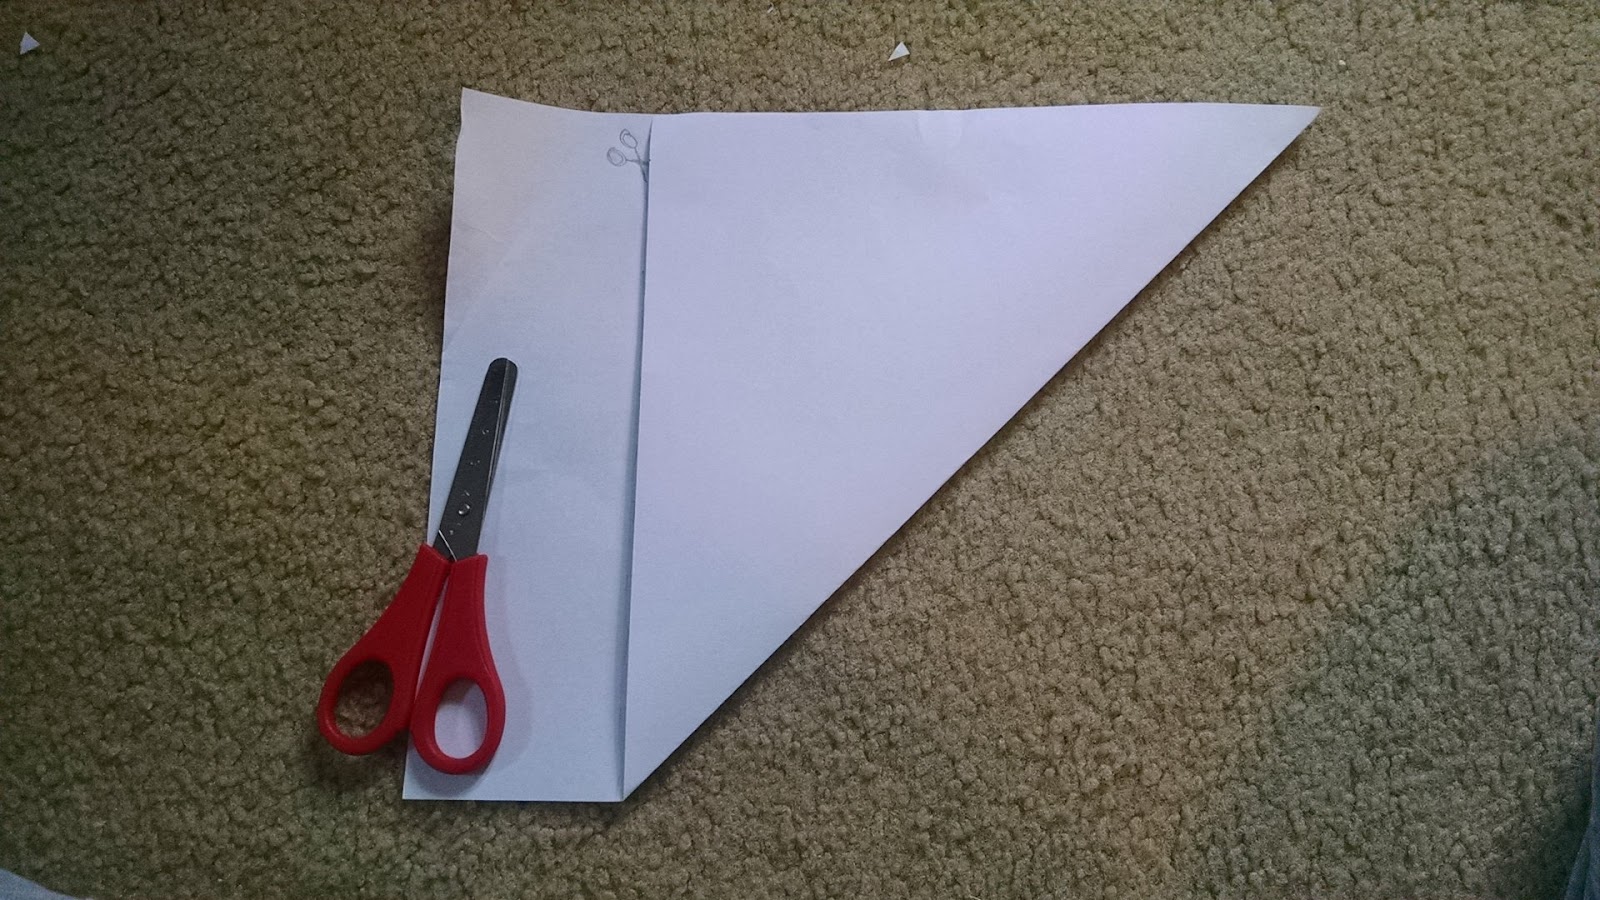
Cut your paper into a square. I am just using computer paper, but you can also use colored paper.

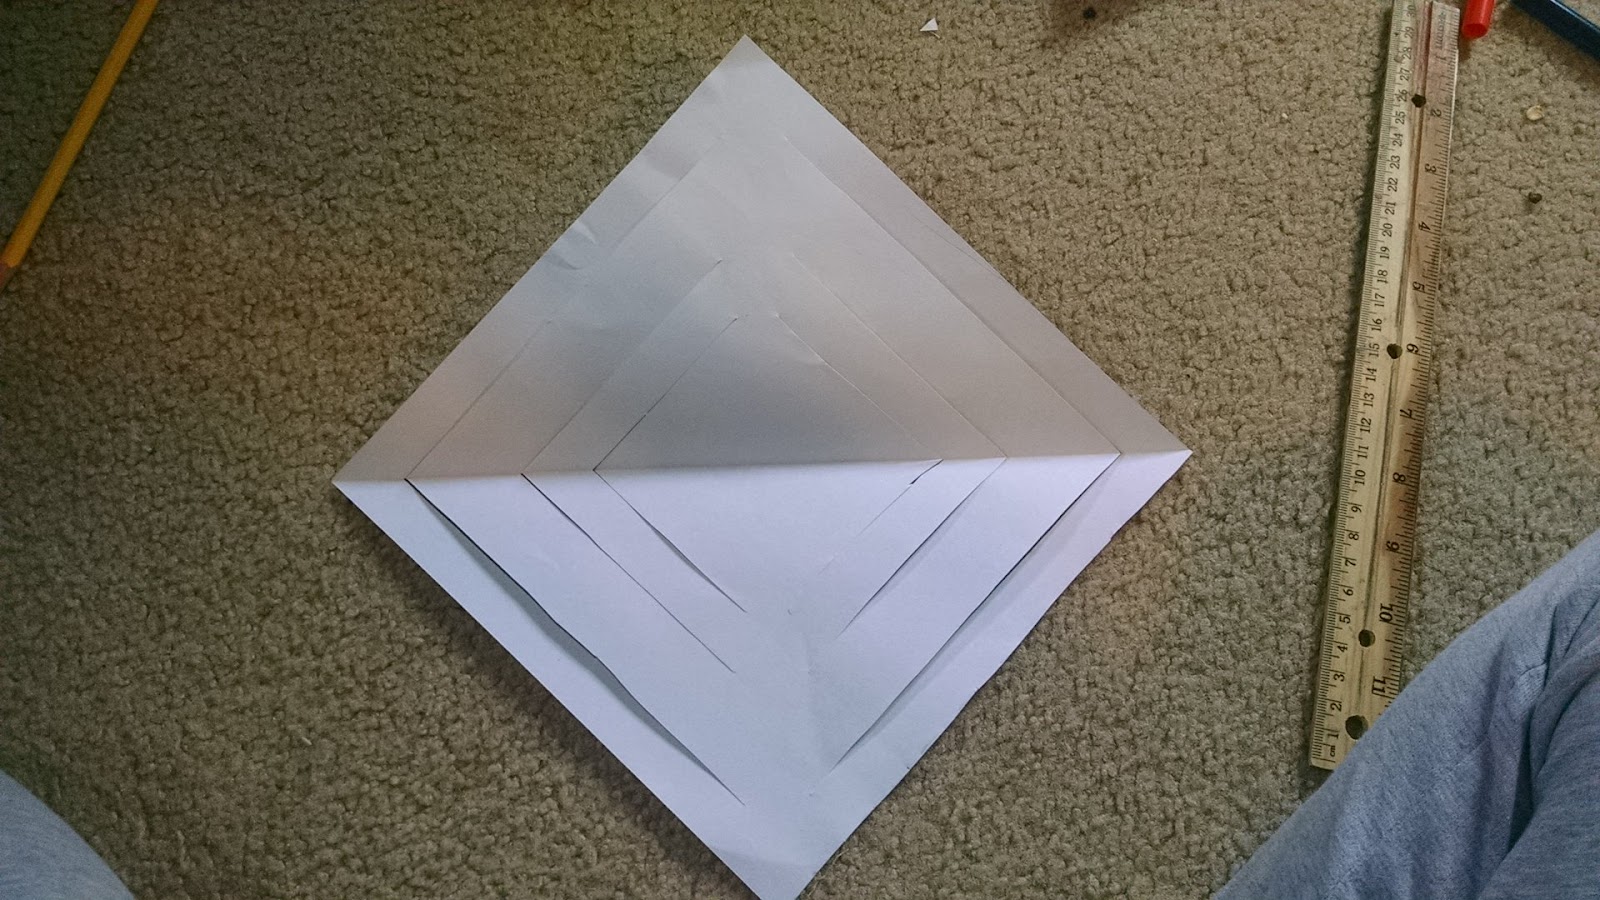
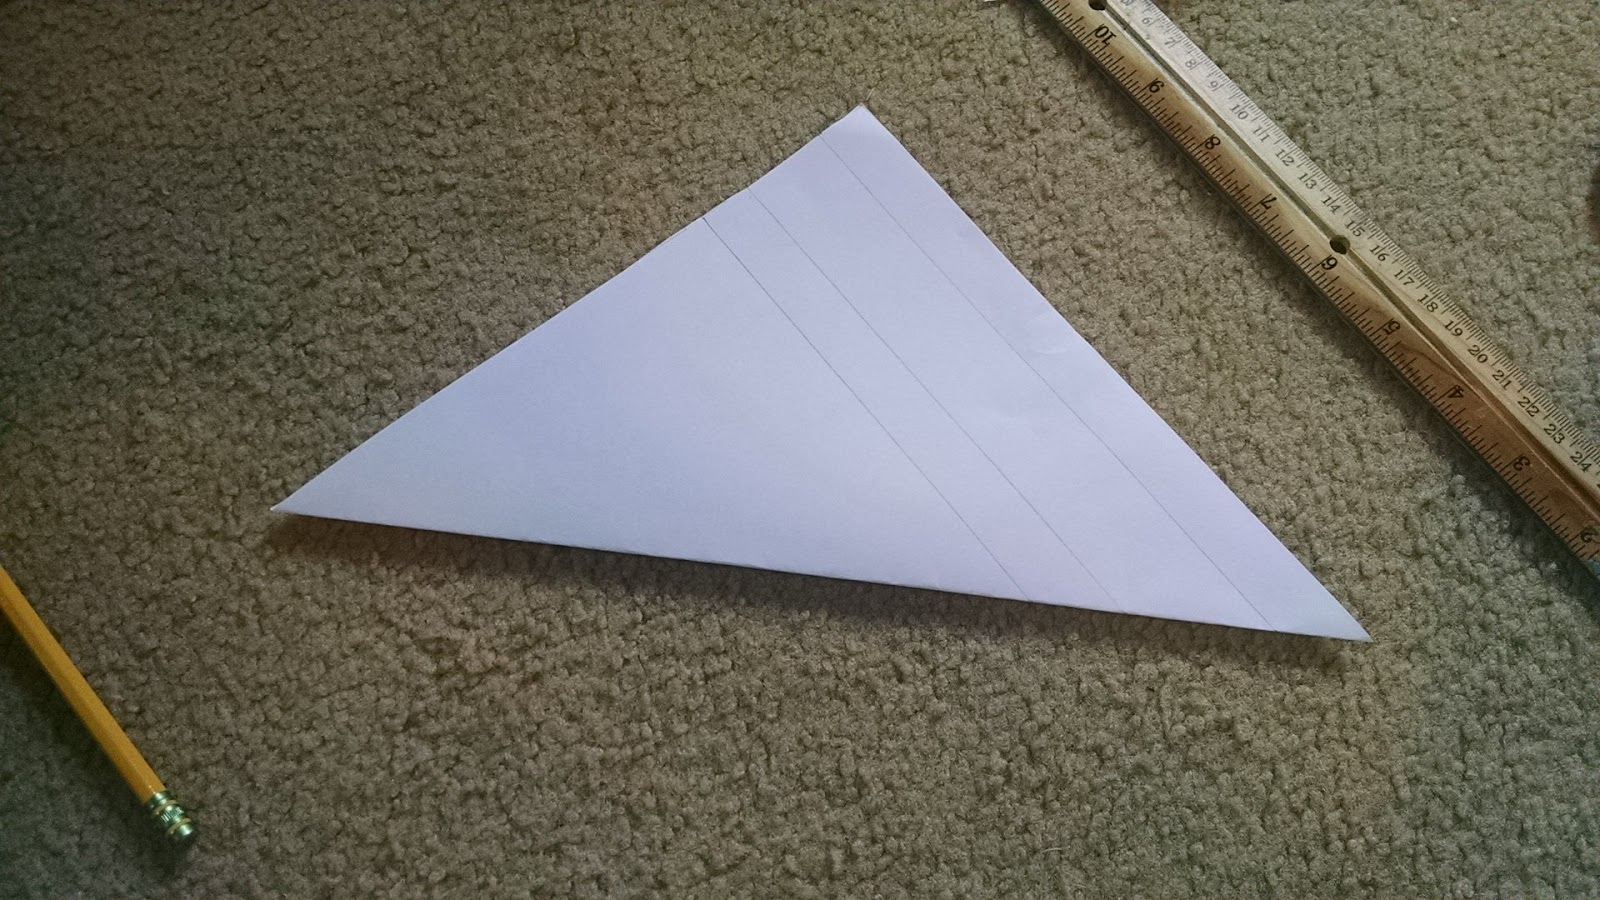
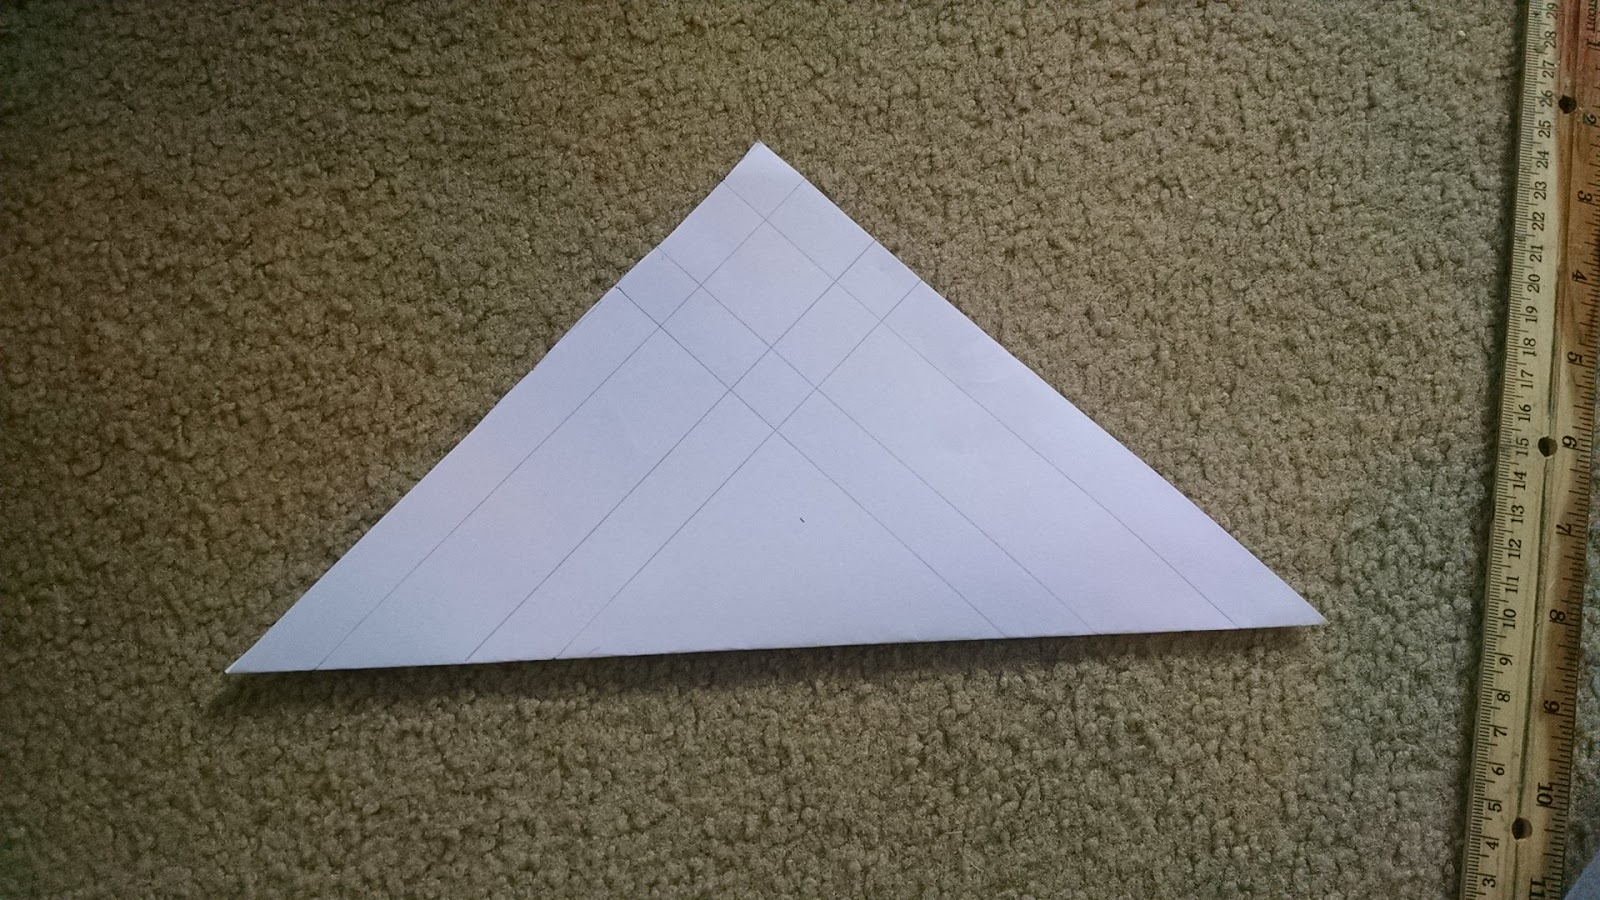
With your paper still folded in a triangle begin drawing your lines. You will need to draw three triangles total, getting smaller as you go down.

This is my triangle with the second set of lines.

I’ve edited this photo for convenience. :) The red lines are where you need to cut. Do not cut the triangles out. You want the paper to still be in one piece.

It should look something like this.
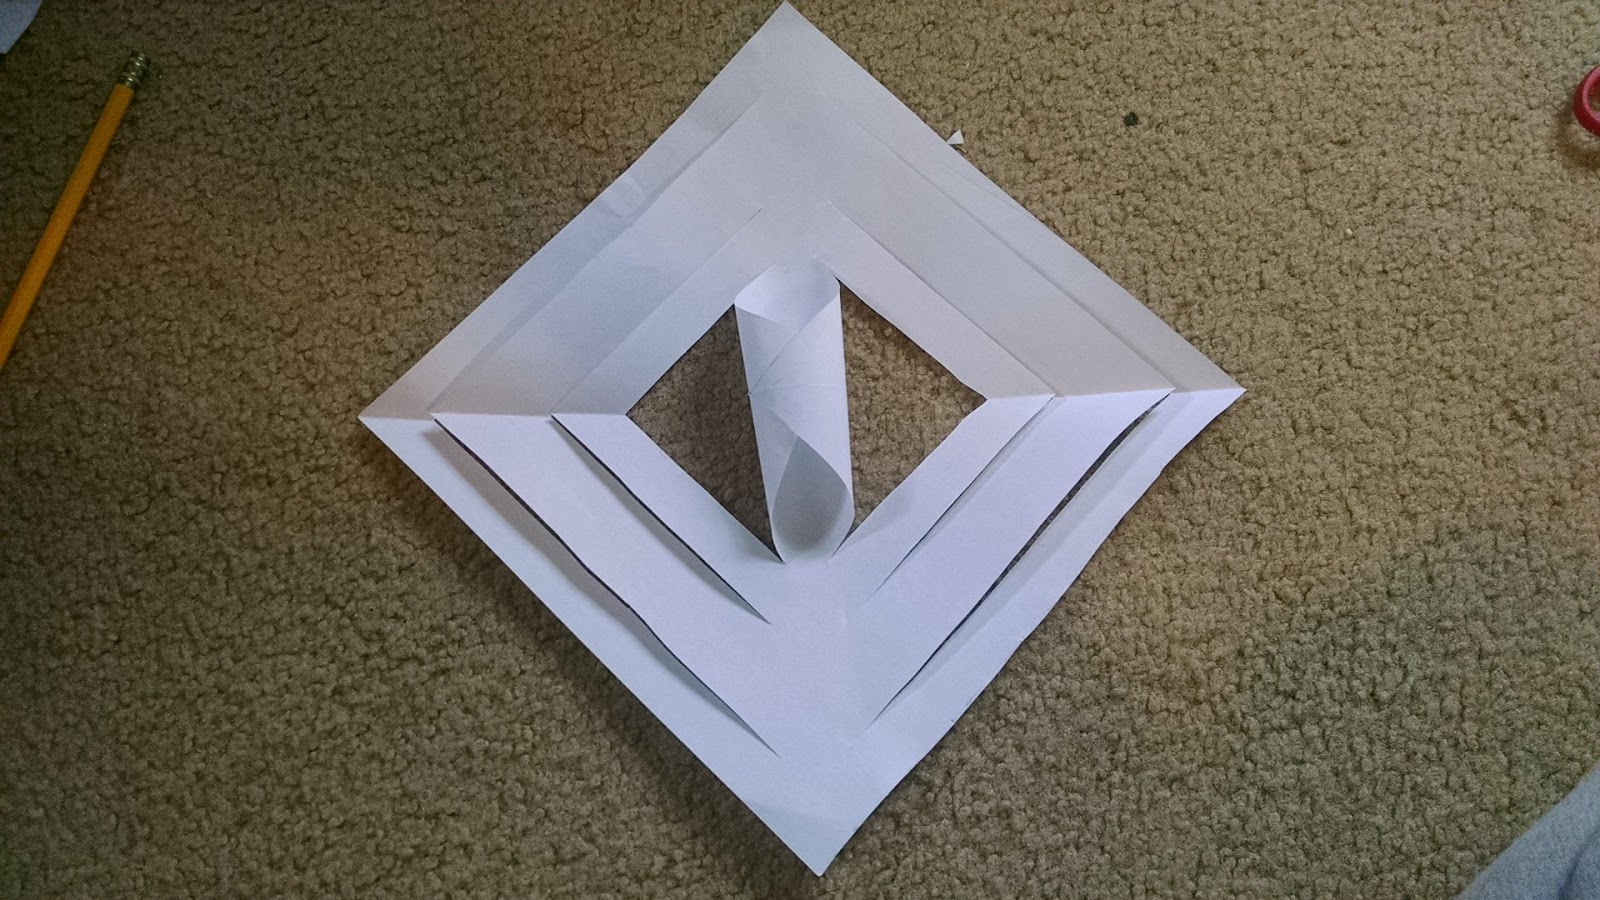
With the loose corners on the side, roll the middle diamond until the corners overlap. Secure it with tape.

Now take the second diamond and roll it over the first, with the corners overlapping. Secure it with more tape.

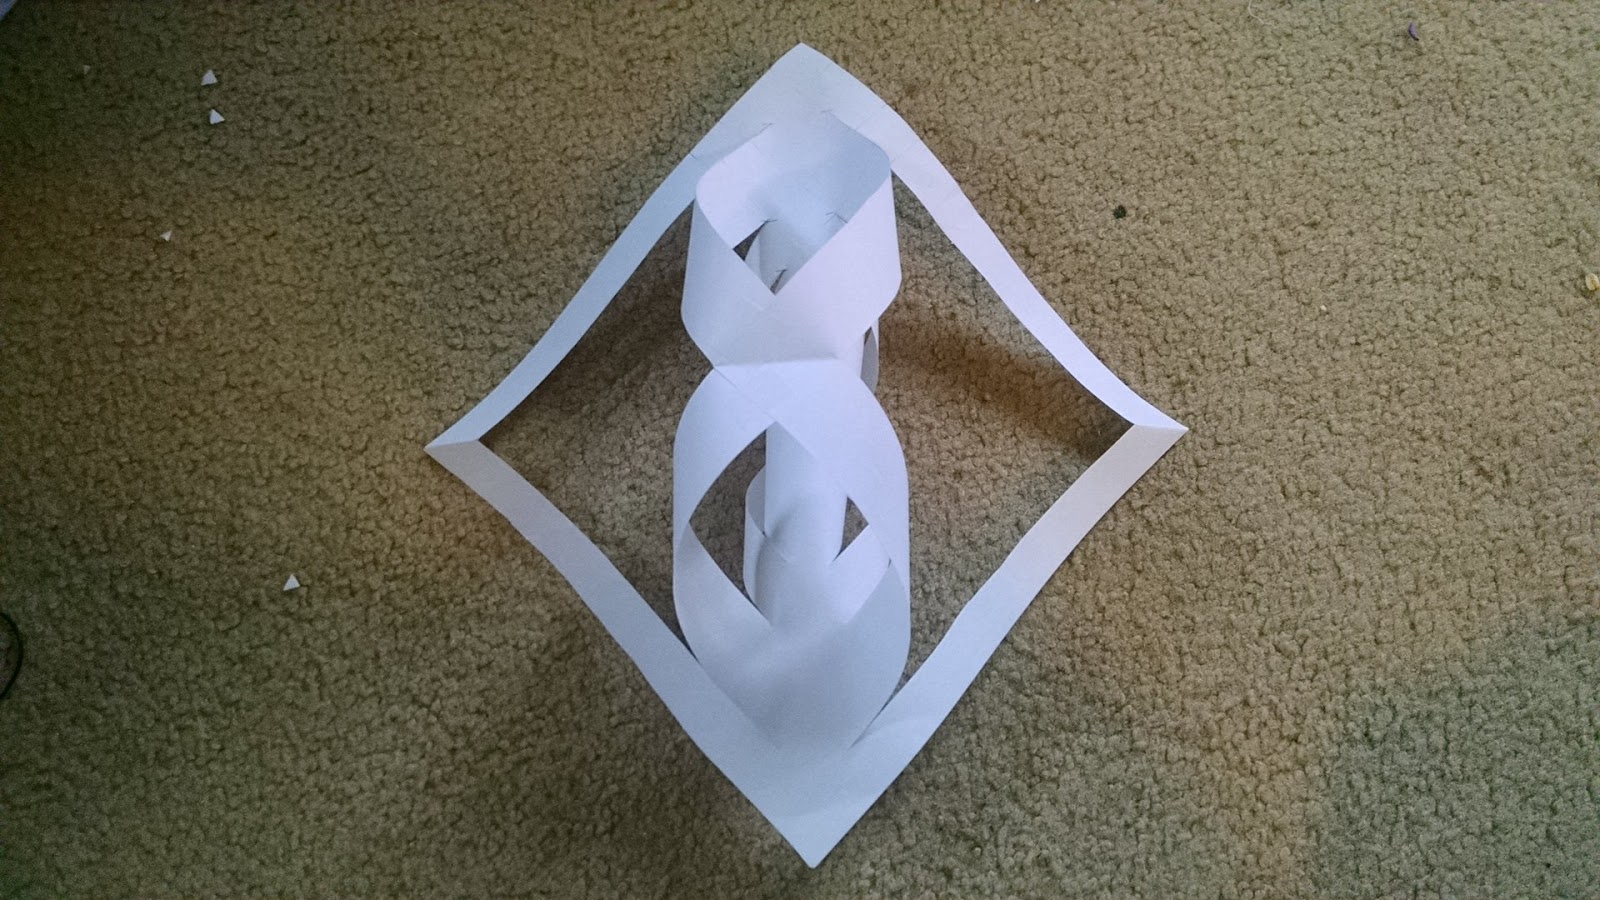
Now turn the paper upside down so that the first two rolls are on the bottom. Tape the next roll.

Now turn it back so the first two rolls are facing you. Tape the final roll.

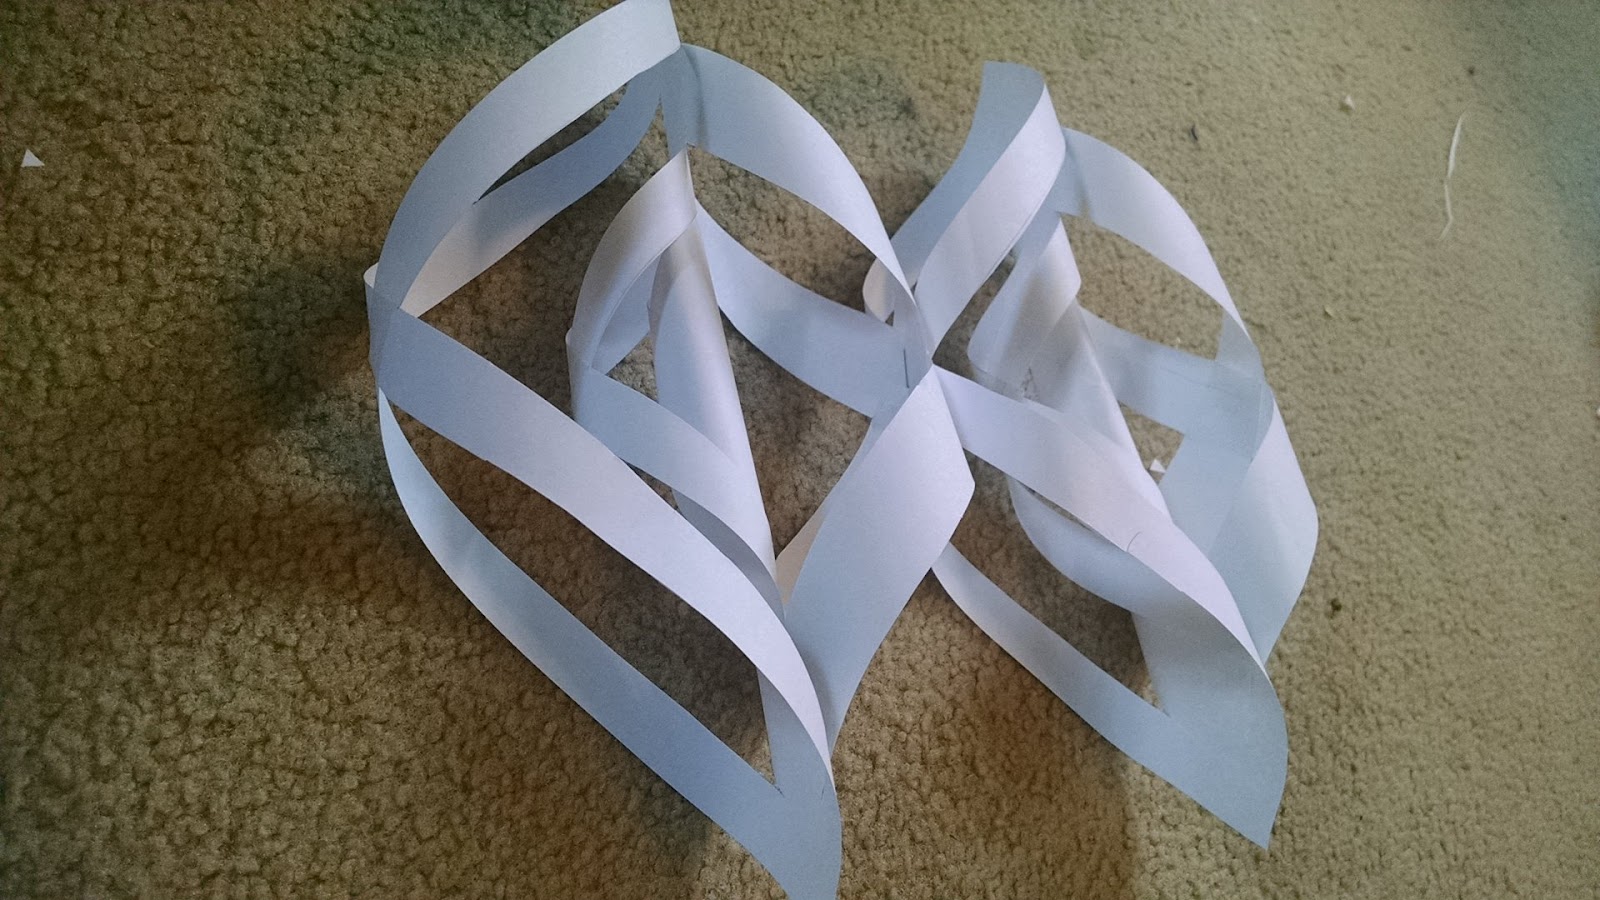
The side of it should look like this.

Now repeat to make 5 more petals.

Here are all my petals lined up.
Now it’s time to connect them!


This bit is rather simple. These photo are half of my snowflake stapled. The red circles are where you want to staple it.

Start by taping two petals together where they touch. Then staple it (the tape helps hold it together while you get the stapler.) Then add the third one the same way.

Now take the inner corners of two of the petals and tape them so they overlap.
Then add the third corner over that and staple it.

Once you have the three petals bunched together repeat to make the other half. Your snowflake should look something like this.

Now staple the middle and the petals that are not connected.

And you are done! Your snowflake is now ready to hang up! A few pieces of tape were all I needed to hang up my snowflake, so now I have a fun (early) Christmas decoration!

Let me know in the comments if you gave this a try, or if you will try it out in December! :)
See you later!
Lily


(Btw: My url is now lilyingeneral.blogspot.com. I will put out a post explaining and finishing all the name changes soon. Thanks for your patience!)